
There's nothing better than creating keepsakes for Christmas your family will cherish for years to come, and these DIY Foot Print ornaments do not disappoint!
Either make the ornament completely from scratch or design your own ornament ball. Both end up lovely and capture your child's sweet little foot like a moment in time.
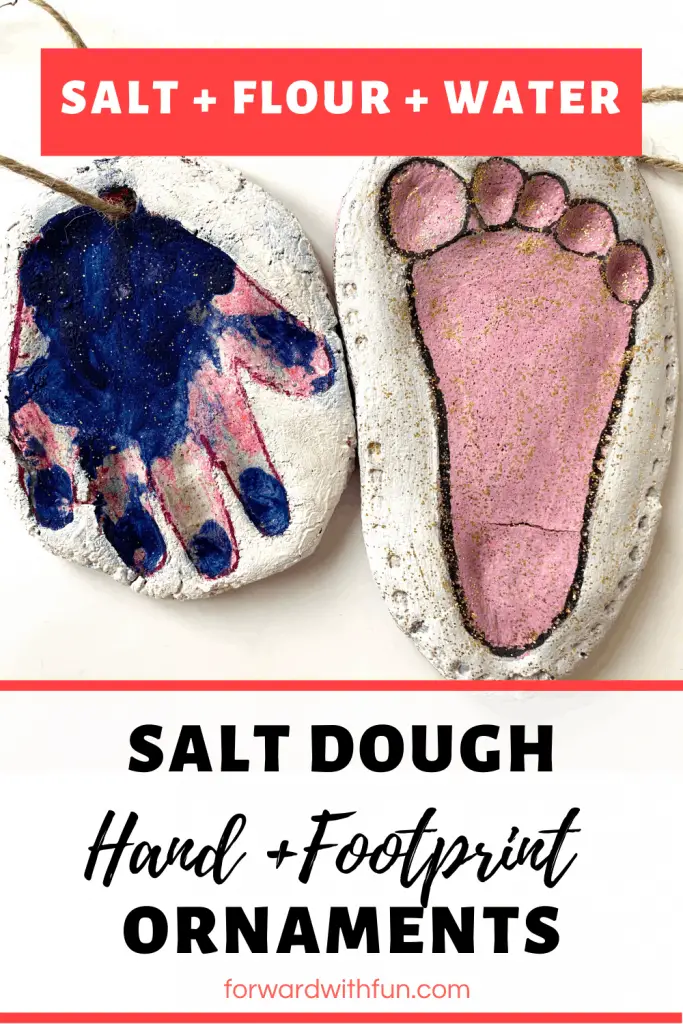
All you need is salt, flour, and water to make this DIY hand + foot print ornament for Christmas time. Make two and give one to Grandma to have a keepsake! I bet all members of the family would cherish these tiny hand and foot print ornaments reminding us just how small our little ones are.
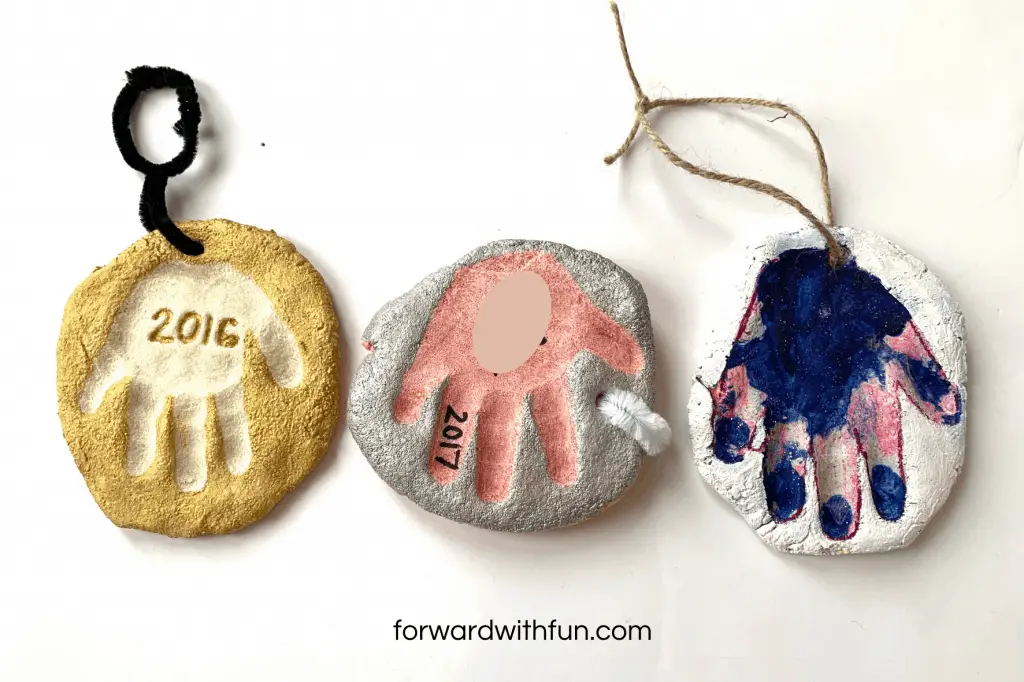
We've made these salt dough foot print and hand print ornaments every year since the kids were born, and they love revisiting how small their hands and feet were from their first Christmas to now. You can also make them as a little plaque instead of an ornament if you don't want to hang them!
I often double this recipe so that the kids can play with some more of the salt dough while I "bake" their ornaments. There are many developmental benefits of playing with play-dough and in this case, salt dough. These are not limited to better fine motor skills, language development, learning step by step instructions, and building creativity, (naeyc.org).
Step 1: Place the flour and salt in a bowl . (If you want to color your ornament, add food coloring to the water for a solid color. If you want a more marbled looking color effect, add the food coloring to the dough once it's all mixed)
Step 2: Mix the water in with the salt and flour.
Step 3: Combine and knead the dough until you have play dough consistency. If you wanted to add color, you can still do it. The more you knead the dough, they more the color will spread.
Step 4: Roll out the dough on a nonstick baking sheet (don't grease it!) and shape it however you want it to look.
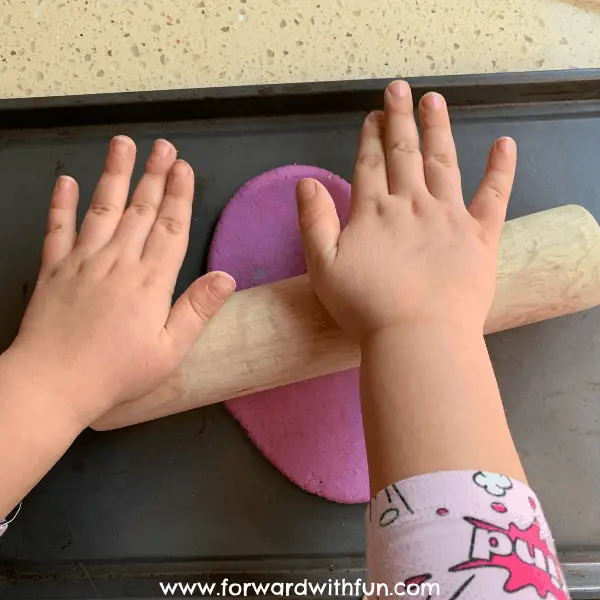
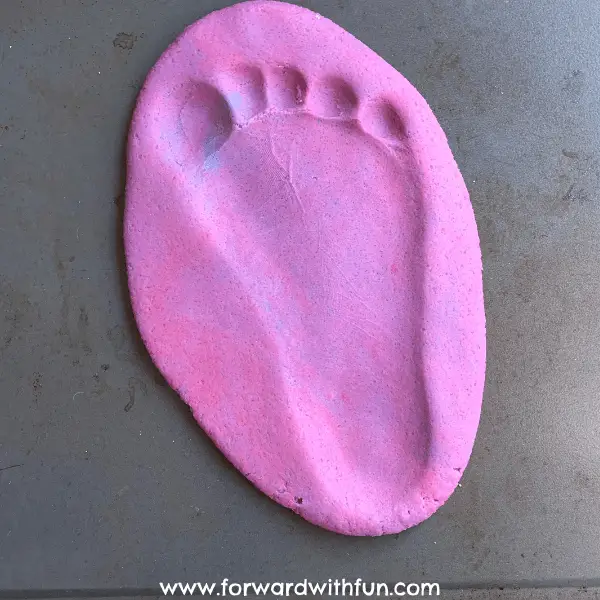
Step 5: Have your child firmly place their hand or foot into the dough, pushing down each finger/toe to ensure you get their handprint or footprint! Gently remove their hand or foot.
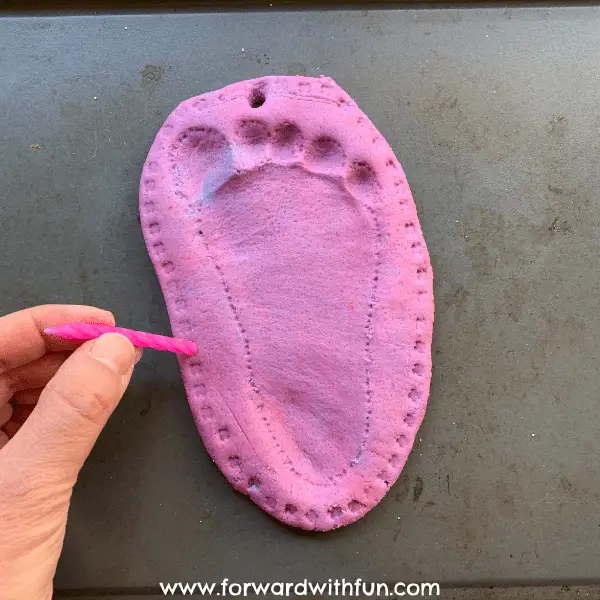
Step 6: Use a straw or similarly shaped item to create a hole where you want the top of your handprint ornament to be. You can also add an details you'd like at this stage.
Step 7: Place in the oven for 2 hours on 200 degrees Fahrenheit or 93.33 Celsius, turning over halfway.
Step 8: Remove the ornament and add any final touches. Sometimes we like to paint around the handprint or outline it with a marker. I write the year on the back or front and the child's name! String a piece of ribbon, twine, or even a pipe cleaner through the hole.
Step 9: Hang on tree or display in your home.
If you loved making your own bake-able salt dough, you're going to also love DIY Dinosaur Eggs with a quick 5 ingredient recipe.