I used to cringe the first week of kindergarten when all the kids would come in their new, lace up shoes. If only I had learned the Cheerio Method of tying shoes earlier!
In those first weeks of kindergarten, I knew I'd be spending lots of time tying laces on cute little sneakers, feeling trapped! Eventually, I would send an email home, asking parents to please send their kids in Velcro or non-lace-up shoes until they learned how to tie them.
Though we would practice tying shoes in class, the usual bunny loop method required more double-handed dexterity than most of kindergarteners have. Even with lots of practice the kids would often get stuck after the first step. That was until I was introduced to the Cheerio Method of tying shoes!
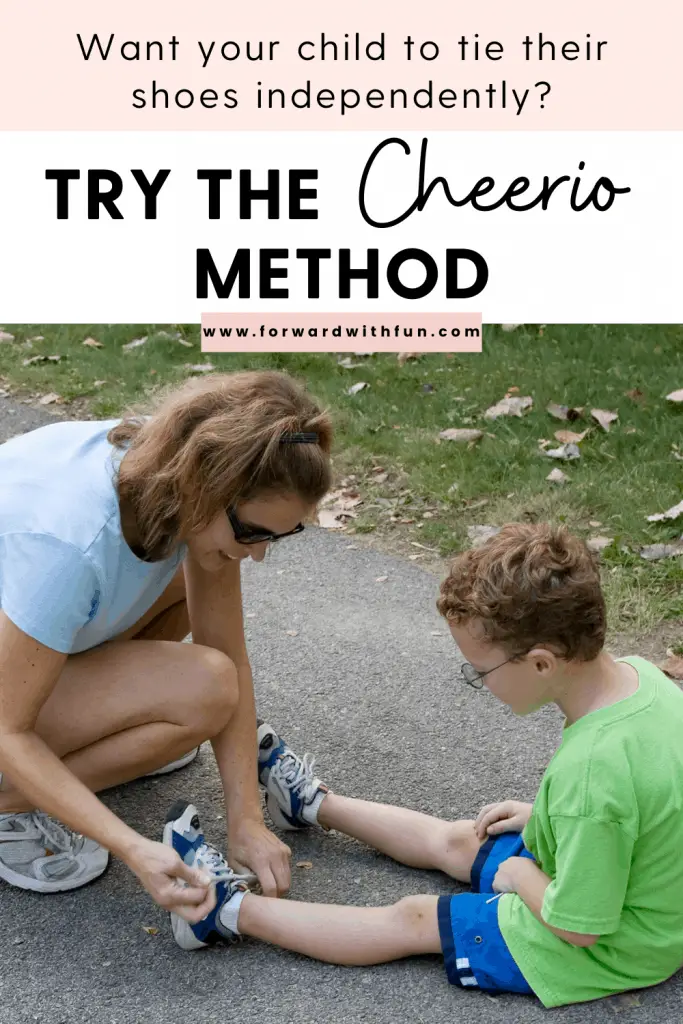
The Cheerio way will teach your child how to tie shoes in 5 easy steps, and it works! It breaks down the most difficult part into two simple steps that kids really understand and can take ownership of. This is true hands-on learning.
This method does make a slightly different knot. Just pull up on one of the loops and it'll undo itself, simple as pie!
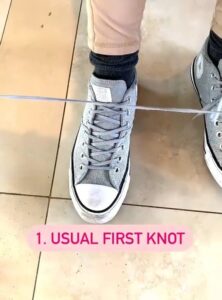
Step 1-Take the two strings and cross them over. Now take one of them and put it through the hole and pull them tight.
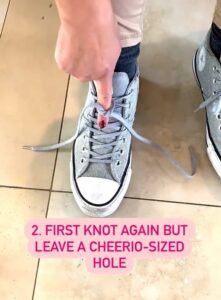
Step 2- This is the step that makes the biggest difference! Do the same thing again, but instead of pulling the strings all the way tight, I'm leave a little hole big enough for a Cheerio. (It can be bigger than a Cheerio, but Cheerio is a cute reminder for them).
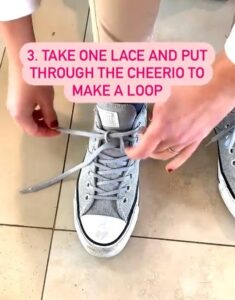
Step 3- Take one lace and put it through the Cheerio making a little loop. Don't pull it yet.
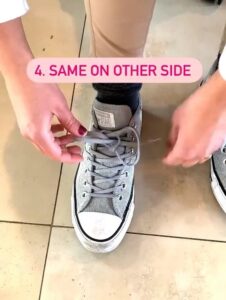
Step 4- Repeat on the other side.
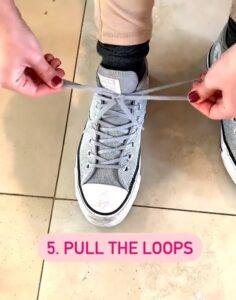
Step 5- Pull both loops outward and the shoe is tied!
Generally kids learn to tie their shoes between the ages of 5-7. The real answer is that everyone learns at their own pace. Tying shoes takes practice and dexterity.
For children that struggle with fine motor skills, it may take longer. To learn more about how to build up fine motor skills, check out this article that includes many fun, hands-on activities that strengthen the small muscles in fingers, hands, and wrists required for children to manipulate shoelaces, buttons, zippers, and writing utensils.
Using The Cheerio Way, I've helped many children aged 4-5 years old learn to tie their shoes. It works better than the "Bunny loops" version that requires children to hold a knot with one hand and then pull a lace around that and through with the other hand by removing that part completely!
Usually kids master the first step and get stuck, but with the Cheerio Method of tying shoes, they feel more comfortable moving to the second step since it's basically just a repeat! This method is also more accessible to kids with limb or finger differences that may struggle with manipulating objects using both hands.
Again, this question doesn't have a solid answer. The best way to teach your child is the one that works for them. I would even try more than one method and see what clicks.
There is the bunny loop method, which is actually how I was taught. The saying for tying your shoes with the bunny ears method goes like this:
Over, under, around and through,
Meet Bunny Rabbit, pull and through.
Another option is the double bunny ears method. Instead of pulling the bunny around and through, you make two loops, cross them over one another, then pull one under and through.
To me, both the bunny loop and double bunny ears method require lots of coordination on the part of the child. Looking for fun and easy ways to increase your child's dexterity? Check out these mega-fun fine motor skills activities.
Just because they require more dexterity doesn't mean these are not great methods though! I actually had a MEGA-VIRAL pin about shoe-tying on Pinterest that has over 6.5 million impressions. It had lots of love and some truly grumpy comments from people who did NOT want to learn any way but their way of tying shoes. HAHA!
But in all seriousness, the Cheerio method of tying shoes is an excellent option for kids, but that's just what it is, an option. Choose whatever works for you!
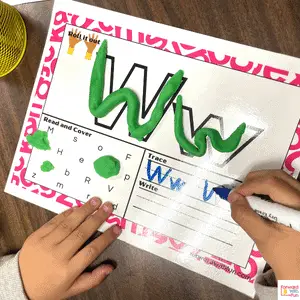
Learning letters is the first step in learning to read. Children in preschool and kindergarten largely focus on letter identification and letter sounds.
While some kids are naturally inclined to learn letters from a young age, others take longer and that's okay.
My mission is to making learning letters and how to read fun and hands on. So if you're looking for a letter sounds worksheet or some alphabet flashcards, this isn't the place.
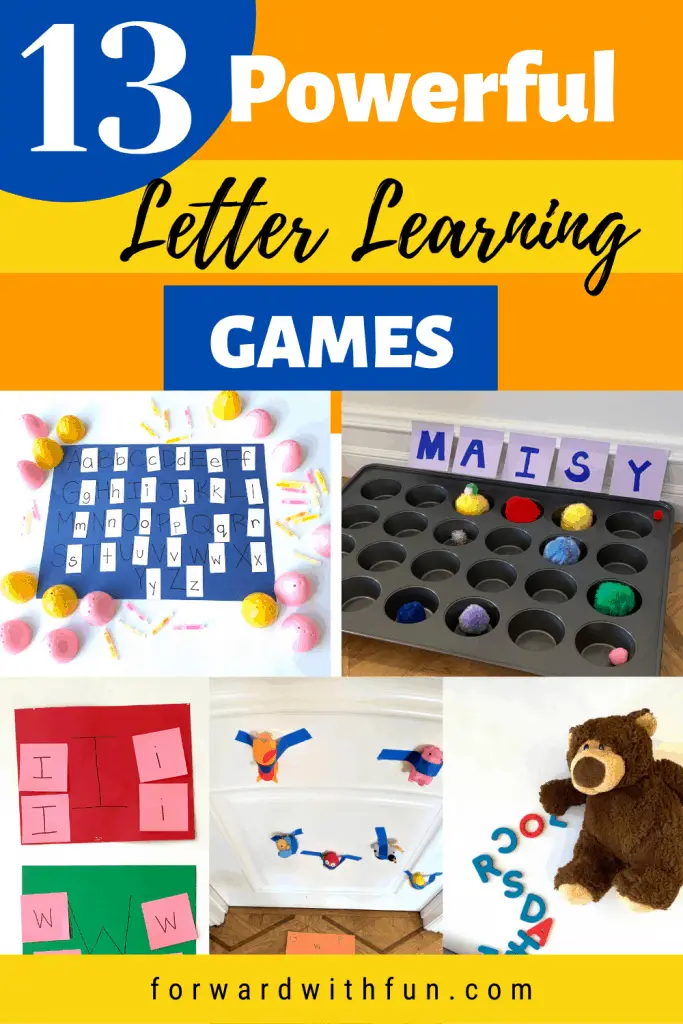
Instead I'm going to show you my most favorite, hands-on letter learning games so that your kid is just as excited about the alphabet as I am (that's super excited...ahem...kindergarten teacher).
There is not one correct order of teaching letters but instead many different ways to choose which letters to focus on first.
No matter what order of teaching letters you choose, I would recommend only working on 5-7 new letters at a time to avoid overwhelming your child. They'll need lots of repetition for those letters to stick in their minds, so always add in some letters they already know when you're playing these games.
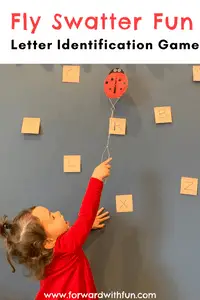
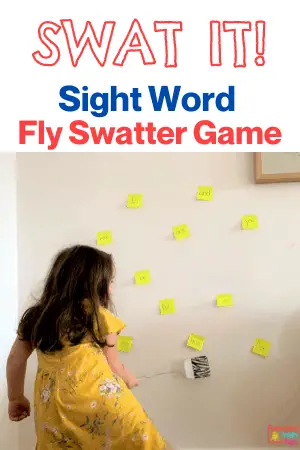
All you need are some Post-its, a fly swatter (or a hand), and you're ready to go. Call out letter names or letter sounds and have your little one jump and swat the letters. You can use numbers too!

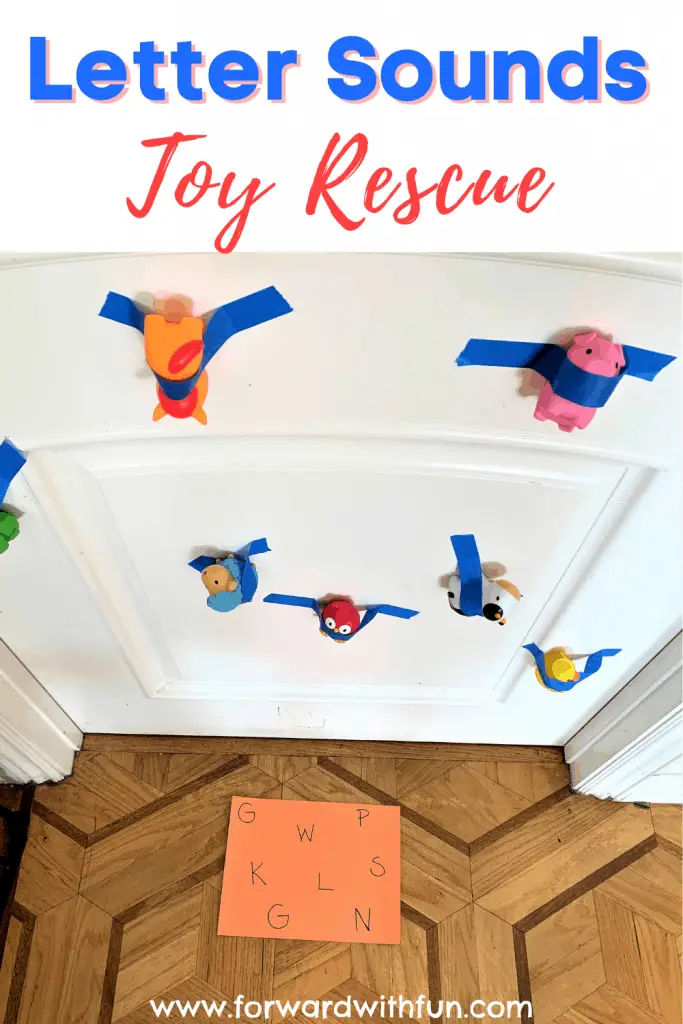
Hide toys around the house or even just on a door with blue tape. Invite your child to play by telling them that the Toy Thief has stolen their precious toys and they, and they alone must rescue them.
At the rescue station, toys must be matched with their beginning sound, reinforcing the letter sounds while also working on phonemic awareness!
Got salad tongs? Blue tape? Any container? Combine with letters for this fun challenge!
It's simple, really...call out the letter sound and have your child pluck the corresponding letter from the container below, maneuvering through the blue tape.
It's a wonderful chance to practice fine motor skills as well!

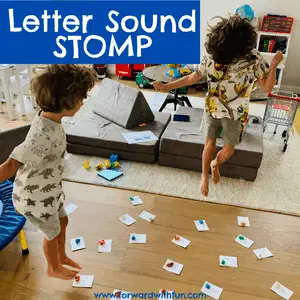
Active kids don't like to sit to learn. Try Letter Sounds Stomp to get your child smashing their way to all their letters and sounds.
Got some tricky letters that continue to confuse your child? Pick out those 5 or so letters they're learning and place them on Post-its for this surprising little game that kids love!
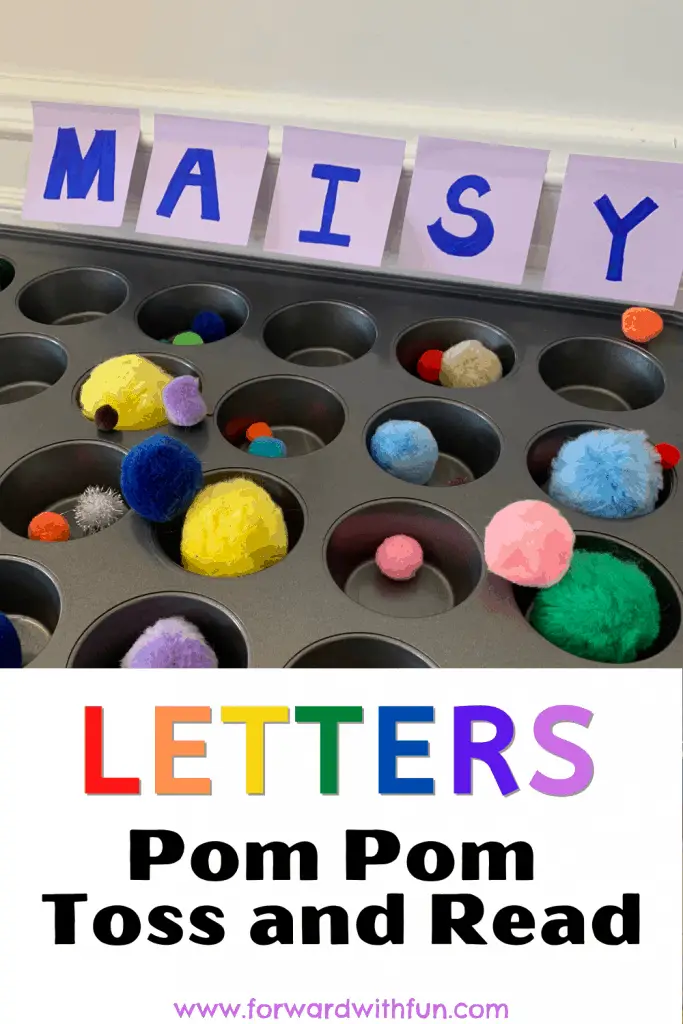
Much like my very viral Pinterest post for teaching Sight Words, you can place letters on Post-its, lining them up with a muffin pan.
Throw the poms poms at the muffin pan and yell the letter name and sound! Kids and adults love this hands-on learning game that happens to also improve your aim.
Loving learning letters yet?
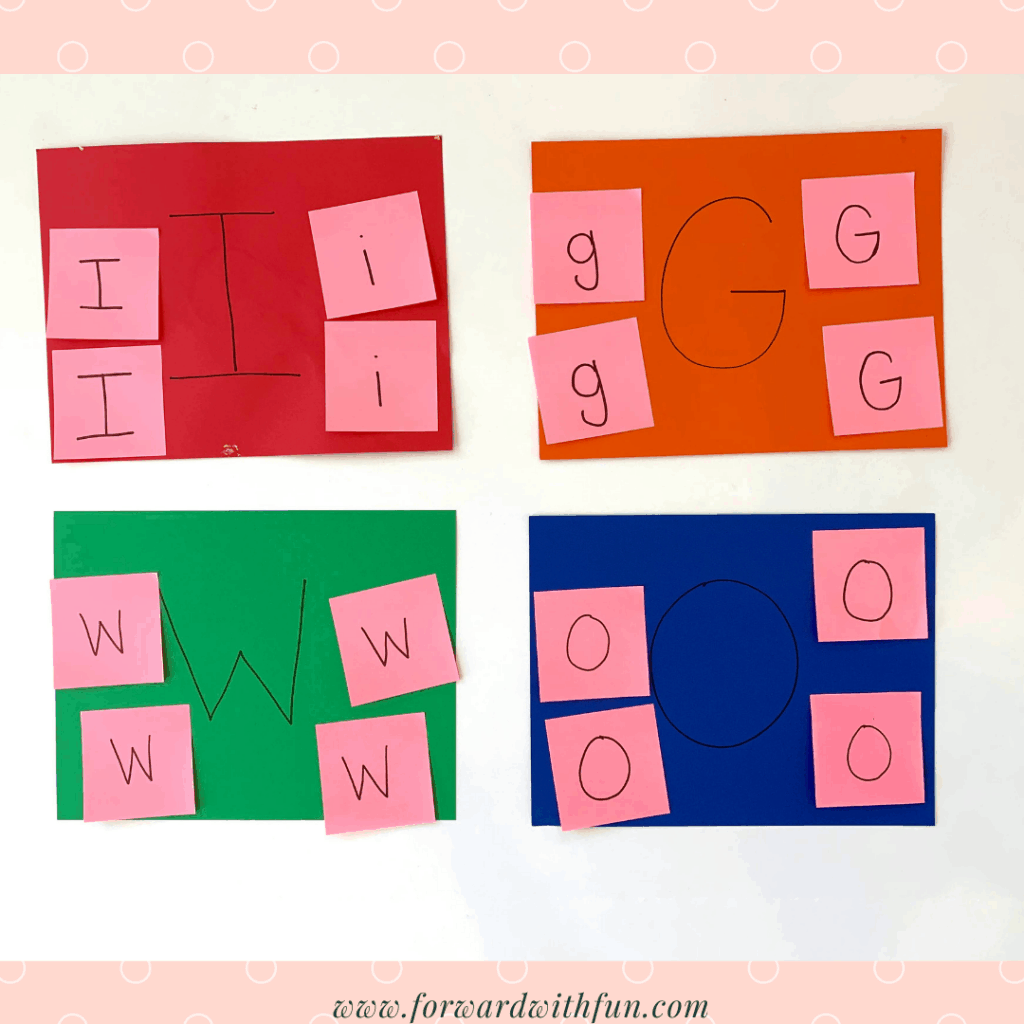
Pick out those target letters your child is working on and write them separately on a piece of construction paper. Hide 4 Post-it notes of the same letter around your home and have your child seek out those Post-its.
As your child matches the Post-it letter to the matching construction paper letter, they say the matching letter sounds!
Surprise! Your favorite stuffed animal is going on a trip, but you need to pack some intriguing objects for it!
Place different letters in a bag. Take turns pulling out different letters and searching around the house that you can pack that begin with that letter sound.
Place the item with the letter and pack them for Bear's trip! Bon Voyage!

Learn letter sounds as Bear packs for a trip!
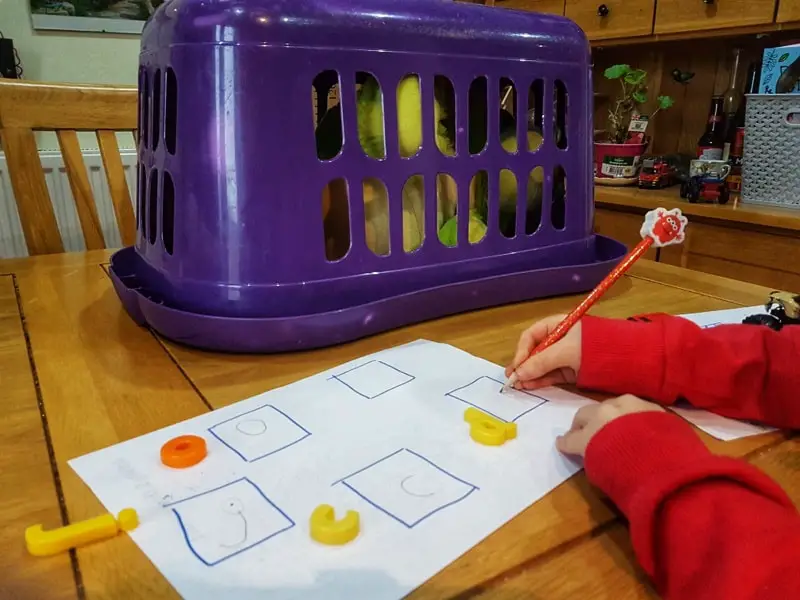
In this creative game, kids rescue their toys from under a laundry basket, unlocking the "code" by writing the letters that match the beginning sounds for each item. Genius!
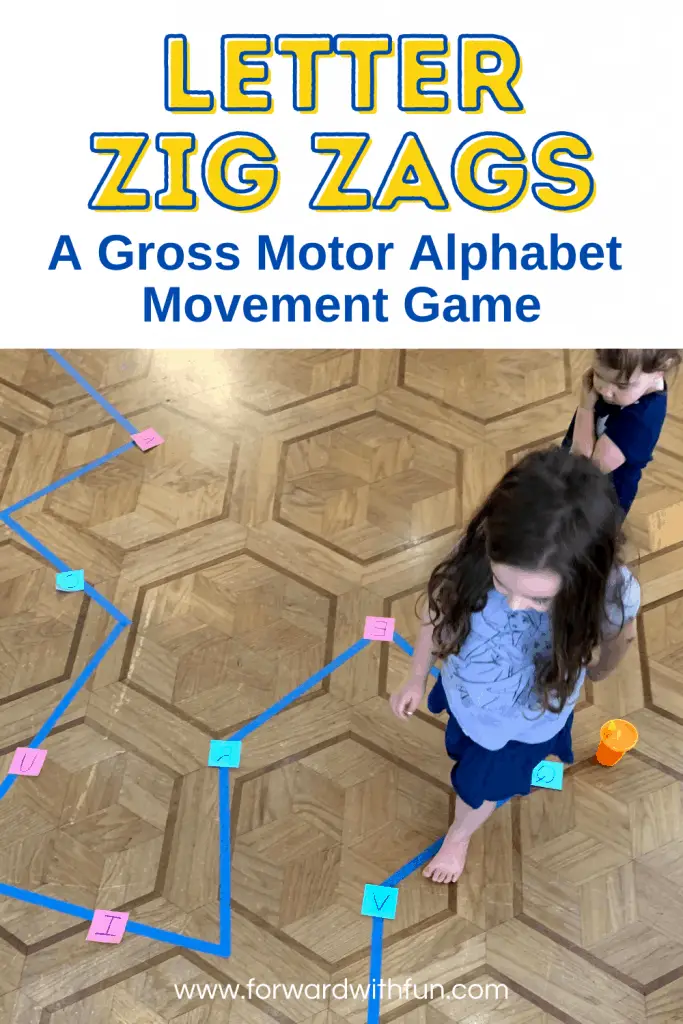
Got some blue painters tape? Create some zig zags for your child to traverse. Along the way, place some Post-it notes with letters they're learning on it.
Give your child a way they must cross the path: tip toe, jump, hop on one leg, walk, skip.
Each time they come to a letter, they need to stop, name it, and say it's letter sound.
Do your kids love trains and cars? They can even use their vehicles to traverse the zig zag path encountering letters as train stations or stop lights.
Take the fun outside with some chalk and play this silly, active hands-on learning game from The Imagination Tree. Draw letters on the ground and have children jump on the letters you name!
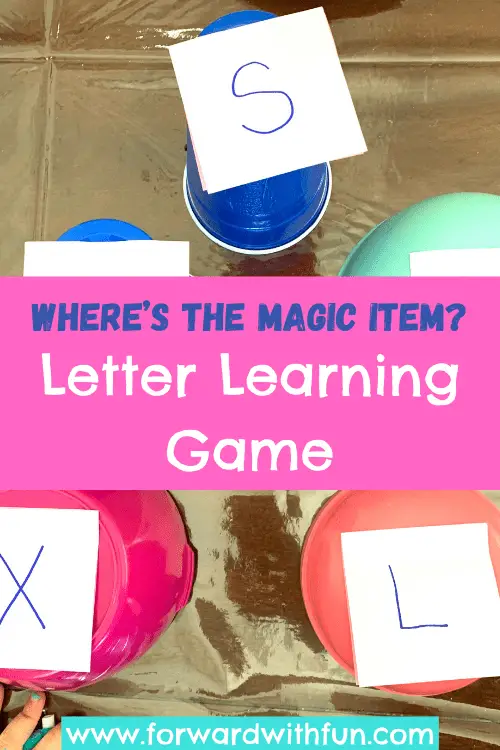
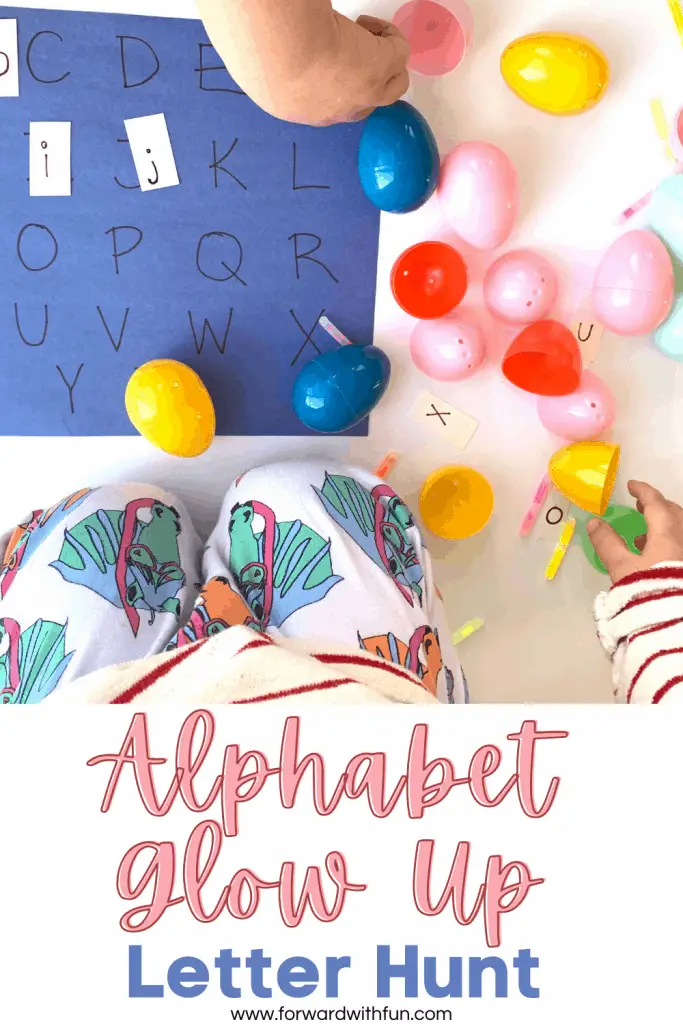
Grab those plastic Easter eggs and get ready for the most epic letter learning experience. Match the letters in the eggs to the mat, and we even added a secret ingredient! WOW!
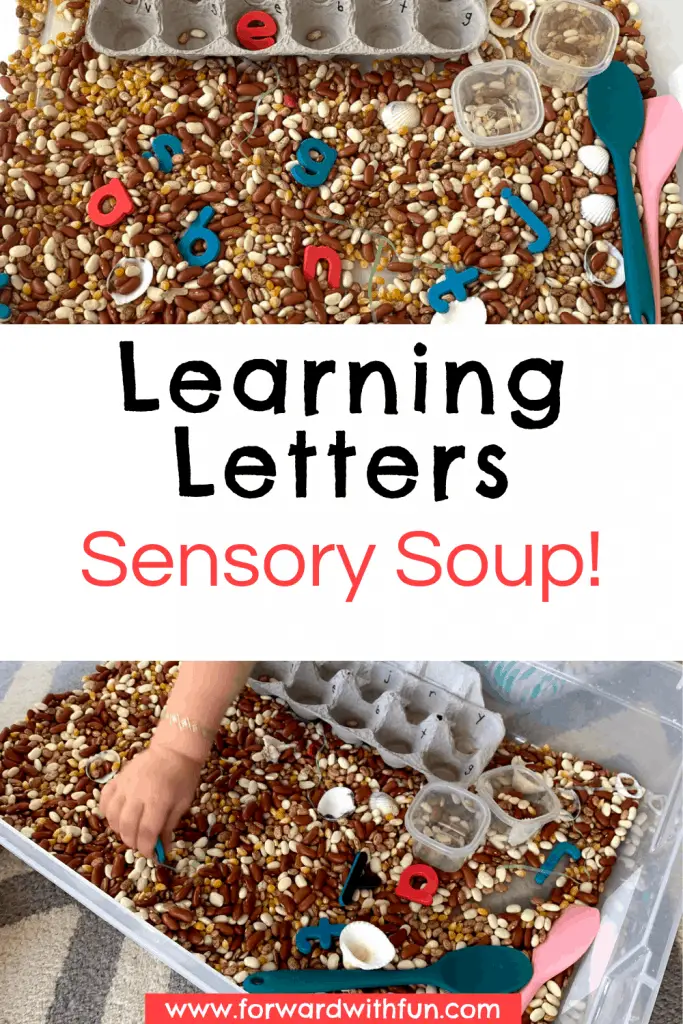
Practice matching letters with lowercase and capitals in this sensory soup bin that will keep even toddlers engaged!
The newest addition to this list is a complete set of alphabet playdough mats. This activity promotes learning letters in 4 different ways and includes sensory, tactile, fine motor, and reading/writing in every single mat.
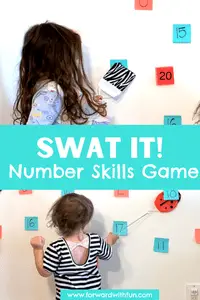
"Swat It" is a high energy fly swatter game that kids ask to play again and again. Whatever you want to practice with your child, be it number recognition, number sense, math facts, letters, sight words, or reading skills you can do it with this game. All you need is a fly swatter and some Post-its.
Who doesn't love permission to hit something every once in a while? Lot's of parents express worry about their child's low interest in learning numbers and letters and a lack of focus. But the problem, isn't really their child's focus. It's boredom so let's make practicing fun with hands-on learning games.
1. Teach Letters or Letter Sounds - For younger kids 2-4, call out a letter name. Wanna up the ante a bit? Call out the letter sound for kids 4+. Here are 12 more epic hands-on games to teach letter sounds.
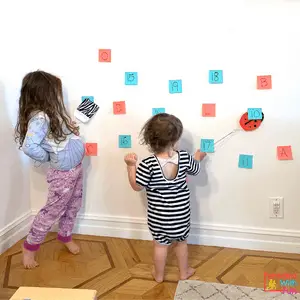
2. Teach Numbers- For kids in preschool, practice numbers 1-10. For kids in kindergarten use numbers 1-20!
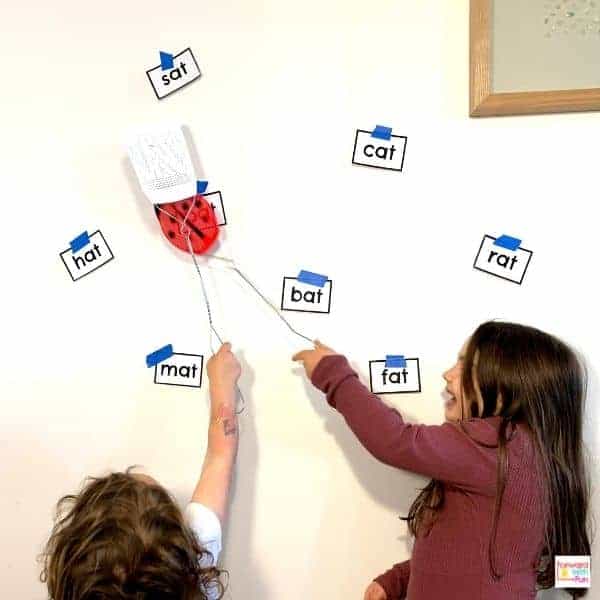
3. Teach word families - I recommend beginning with the AT word family. Grab those flashcards you see in the picture here.
4. Teach sight words - Using a fly swatter is just one of 16 epic ways I teach my kid sight words.
5. Teach number sense- In this game, kids are working on more than just number identification. Call out more difficult math clues to get them really thinking.
6. Combination of numbers and letters - For this we had Big Sis identifying numbers and Lil Sis working on letters!
Be sure to add in some items that your child has already mastered so they won’t get burnt out searching for only ones they don't know. We want kids to have success and fun while exposing them to new numbers, letters, words, etc.
What should I do if they don't know the answer? When my eldest was looking for a number she didn't know, I would call out clues initially like what it was next to or if it was higher or lower. This would help her narrow her focus, preventing visual overwhelm and guide her to find it on her own. After playing a few times, she felt more confident and we did a lightning round.
There is NO way your child won't absolutely love this fly swatter game.
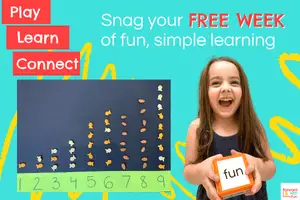
Want a free week of activities like these sent to your email? Subscribe now!
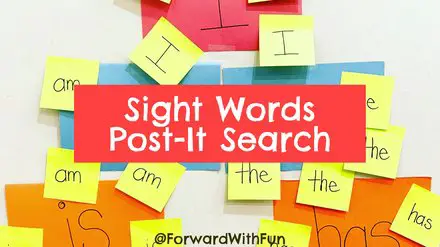
Kids will be moving and reading in this sight word matching game!
Exposure, exposure, exposure! That’s the key to learning sight words! Sight words are the most common words we come across when reading, but often they don't make sense when "decoded."
To decode, in terms of reading, means to sound out. Kids trip up on words like "of," "has," "is," and "the" but those words are essential for early readers. That's why sight words need to be memorized, so that kids know them instantly and can spend time sounding out the words that make sense phonetically.
In this game, kids will get a ton of exposure to target sight words. You can play with 1 sight word or 10; it's really up to you. Because kids can get overwhelmed easily, I recommend choosing 3-5 sight words as best practice. If you need a suggestion, check out this list of sight words for kindergarten.
I always start with the words I see most in my kids' books. So, I'd recommend: I, a, am, the, is, was, has, of, be, to if you're first starting out.
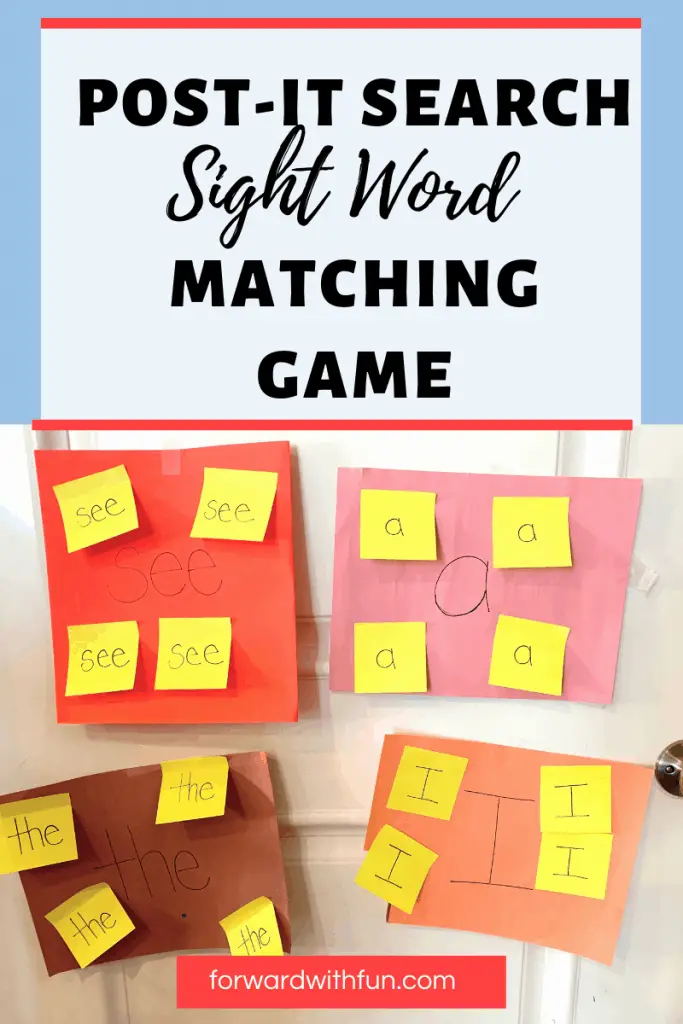
It's simple. Kids will look for all the Post-its hidden around the home or classroom and return them to the "home base." Then, they'll match the sight word to the correct page.
Sight words are a more advanced reading skill that begins in TK/kindergarten. You can also play this game with letters, numbers, and even shapes and colors. If your child doesn't know their letters and sounds yet, I recommend playing this fun seeking game with letters instead! You can use capitals and lowercase or mix it up!
Our sight word matching game is only one of 16 Hands-on games that I use to make learning sight words fun! So, don't wait and check out these game for more fun sight words activities!
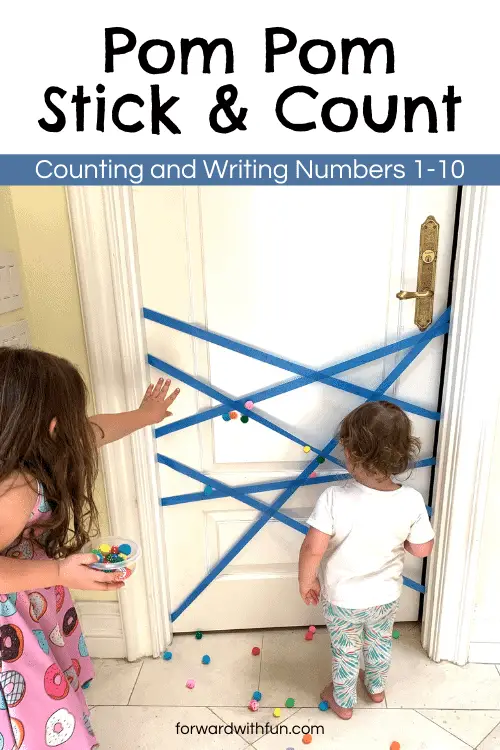
Pom Pom Stick and Count is the BEST activity to practice reading and even writing numbers 1-10. Forget those counting to 10 worksheets and have fun counting with us.
*As an Amazon affiliate, I may get a small commission for purchases made through links in this post.
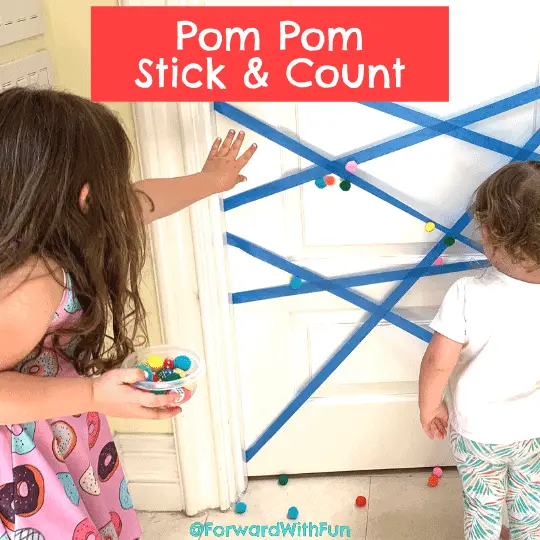
Grab some Pom Poms and blue painters tape.
Using a door frame, I placed 6-8 strips of tape of sticky side out. I made sure to tape them tightly so they didn't sag across the empty door frame.
I always semi-close the door to prevent pom poms from getting trapped on the other side.
If your preschooler is also practicing writing numbers 1-10 you can add a writing component as well. We created a writing numbers 1-10 worksheet that goes with this activity just for you!
If you are looking for another exciting game to practice numbers 1-10 with your preschooler, you have to check out punch math!
There are so many ways for preschoolers to practice counting with manipulatives, aka tangible objects. When young children are first practicing counting, it is extremely helpful to use manipulatives in order to develop 1-to-1 correspondence and count accurately. That's why counting to 10 worksheets are a hard no for me as a teacher and a mama!
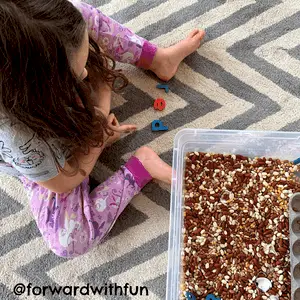
Sensory Lowercase Letters Soup is a game we play where the kids pretend to make soup, but I sneak in some learning.
Learning is so much better when it's organically intertwined with kids' play because it's always fun and goes in new imaginative directions. Each time can be different!
*As an Amazon affiliate I may earn some pennies if you make a purchase through my links at no additional cost to you!
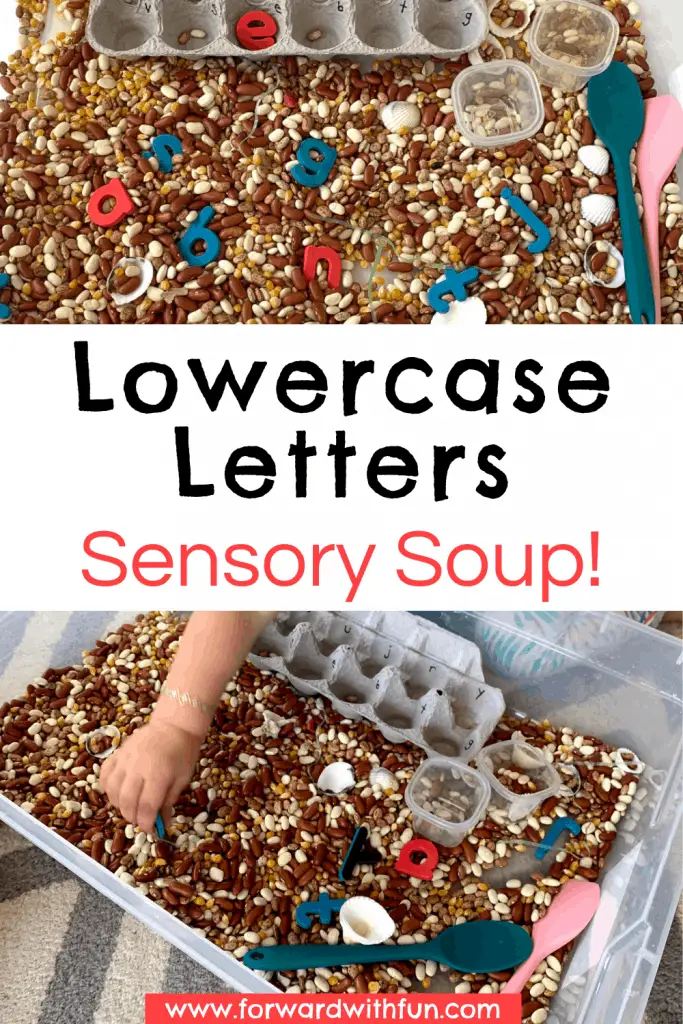
In Lowercase Letters Soup, the egg carton has letters written in each space and I only include those 12 letters in the soup. It is more successful and engaging when every letter they find has a home.
Kids sometimes resist doing an activity that is visually overwhelming or has too many steps. Keeping it to 12 lowercase letters makes the task doable for little kids. Also, the egg carton serves as a reminder of how many other letters are left. The egg carton can even be a math component: noticing there are 12 spots in the egg carton, how many the child has found already, and how many empty spots are left.
Another way to play with the letters, especially if you don't have an egg carton is to match them to letters on a baking tray, like in this great activity by No Time For Flashcards!
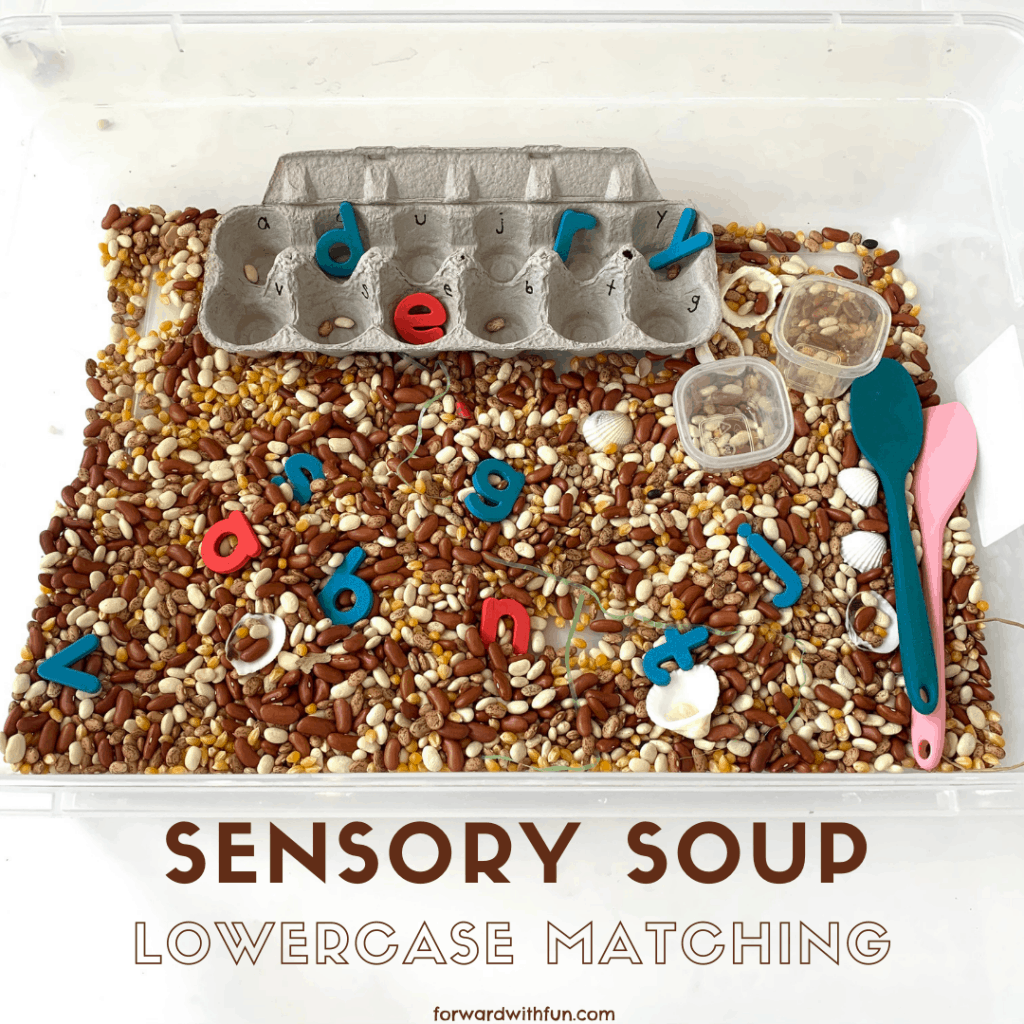
Make sure to include some vowels in your letters so that readers can find letters and try to make their own words.
Kids can make CVC words, that means Consonant-Vowel-Consonant words and then read them. Is that a real word? Or is it a nonsense words?
Ready for another activity using these lowercase letters? Try making CVC words in a muffin pan!
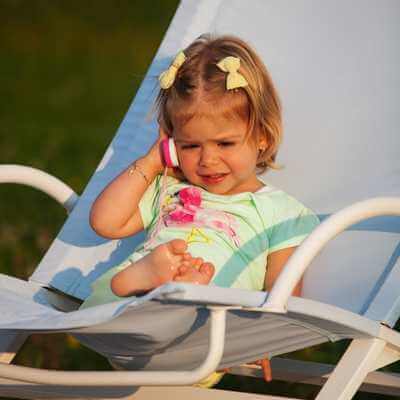
A big safety skill is for preschoolers is learning their phone number! But how do you teach your child your phone number and know that it will really stick? These phone number activities will definitely imprint on your child's memory, and you can feel a lot safer about sending them on that field trip! (But if you're anything like me, you're still sticking that Airtag in their pocket.)
Plus, scroll to the bottom for a HUGE safety tip once your child knows their phone number.
*As an Amazon affiliate, I may get a small commission for purchases made through links in this post at no additional cost to you.
Kids love to be like their parents, so for the first of the phone number activities, I suggest the obvious idea: use a toy phone to practice dialing the numbers together. My kids were always obsessed with this Leapfrog phone, which didn't sound annoying to me like most noisy kids' toys did.
Write the phone number on a large paper or board and cut it into pieces. Have children put the pieces back together as a puzzle while saying the numbers aloud. You can even tape them on the wall and have your child SWAT the phone number. This is a common teaching game I play with my kindergarten and first grader students when they need to memorize something.

Hide written copies of the phone number around the house. Let children find and gather all pieces, then read the number together. You could make this harder, by writing some that are incorrect and having your child sort all the phone numbers into categories. Add in a second phone number for their second grown up to make it even more challenging!

I loved this because the finished product was hung in our play room, and the kids constantly went back to it to practice my phone number. Then they asked to do it for dad's number too.
For this phone number activity you'll need:
Are your children obsessed with your phone? Print out this free coloring sheet by Twisty Noodle, have your kid decorate it, and then even cut it out. They can make their own little paper/cardboard phone and have them punch in the numbers for your phone number.
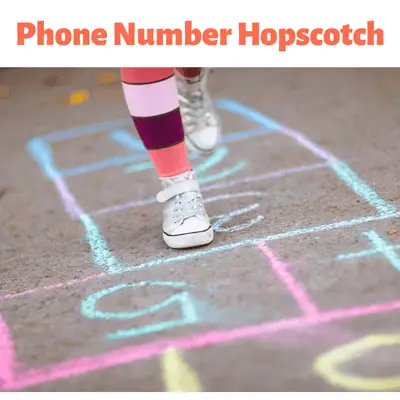
I always love to take the table activities and turn them into a gross motor activity to increase engagement with my young learners. Use chalk to write the digits from 0-9 in a hopscotch pattern, or any pattern of your choosing.
Have your child hop your phone number. They're practicing their number identification while getting some energy out! Win win!
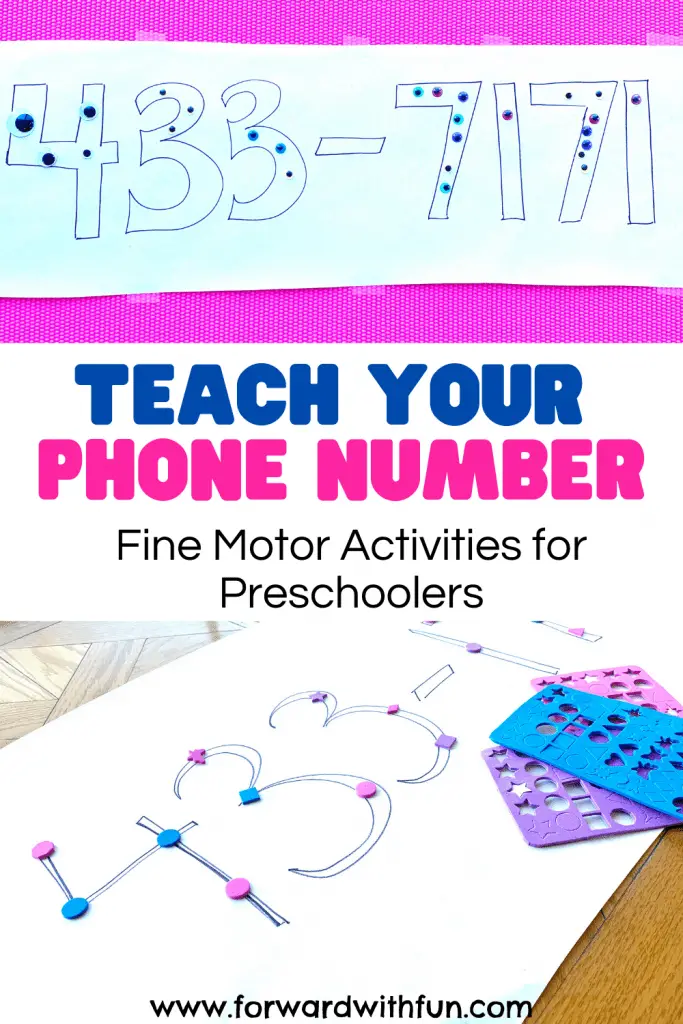
There are so many different ways to build your phone number: you can use toothpicks, small toys, googly eyes, etc, but my kids' favorite is play dough! Sensory experiences are enjoyable to little kids, increasing the chance of them remembering your phone number by making the learning tactile and interactive.
Have them write your number in different mediums: chalk, paint, marker, crayon, etc.
Write the number in a secret code (e.g., a different symbol for each digit). Have children decode and then recite the number aloud. This activity is easily repeatable and guaranteed to get them to want to play again and again, creating more exposure to the numbers in order.
Another version of this game is to write your phone number with dominoes and have them decode based on the number of dots. Dominoes are an incredible way to engage your preschooler in tons of math skills, so if you have those here are some great ways to play with them you may not have thought of.
Create a short, repetitive story featuring a child who needs to call their parents' phone number, encouraging your child to remember it and say it with you. You can even repurpose a familiar story, like Goldilocks and the Three Bears, and insert that Goldilocks should have called her parents each time she tried something at the bears' house, but that she didn't. My kids thought it was super funny to say, "She should have called her mom to pick her up at (555) 555-5555, but SHE DIDN'T!"
Sing your phone number together. Just like that car commercial or that catchy tune you heard on the radio, songs are great memorization tools! Make up a little tune or take your kid's favorite song and replace the words with your phone number. There is no easier or more efficient way to teach your phone number, because music is SO memorable to little ones.
There you have it, the top 10 phone number activities to teach your phone number to your preschooler. These techniques can be used in combination with each other to help even kids as young as 2 years remember their parents' and loved ones' numbers.
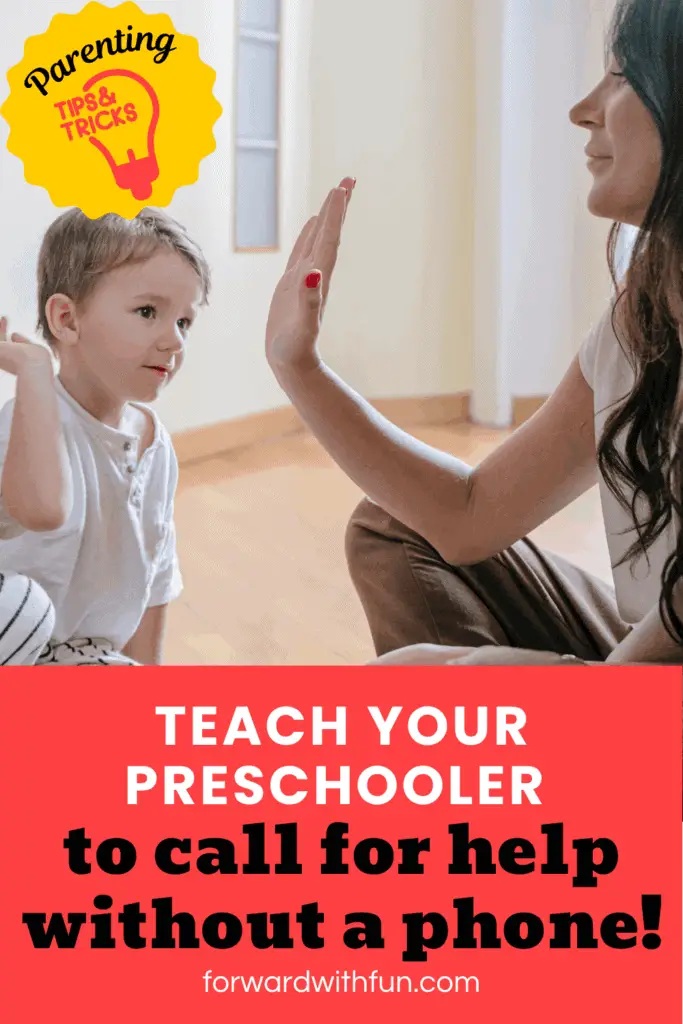
Safety tip: Do you have an Alexa at home? My kids don't have cell phone, but we have learned that they can use Alexa to call us. They can call any phone number by telling Alexa to call that phone number or even saying call "Mom."
This is a bonus way to practice your phone number and really helpful in case of emergencies. I recommend trying it with your kids to make sure your device is hooked up and working.
In a time when so few people have house phones, I wonder what might happen if I have an accident and can't reach a phone (currently writing this with a very severed achilles tendon and unable to walk)! Well, if my phone is hard to find or my kids cannot unlock it, they know they can use our Alexa to call 911, their grandparents, my husband, anyone. I wish more people would know about this great safety tip, so if you find it helpful, please consider sharing this post with your friends and family.
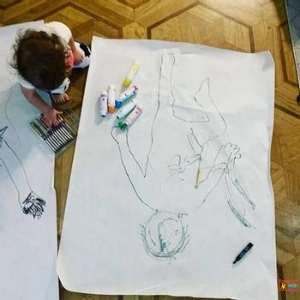
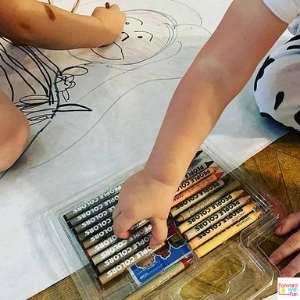
In an overseas visit to my family, I noticed that my aunt had life size portraits of her grandchildren hanging in her bedroom. I loved how each child decorated their own portrait differently, with no influence from an adult.
In an effort to unite my children with their cousins around the world, I ordered some butcher paper and make our own as an invitation to create for my children while also discussing a delicate topic (skin color) in a way that makes sense to young kids.
*As an Amazon Affiliate I may get a small commission from purchases made through my links at no extra cost to you. It's probably 2 cents, but hey, a penny saved is a penny earned.
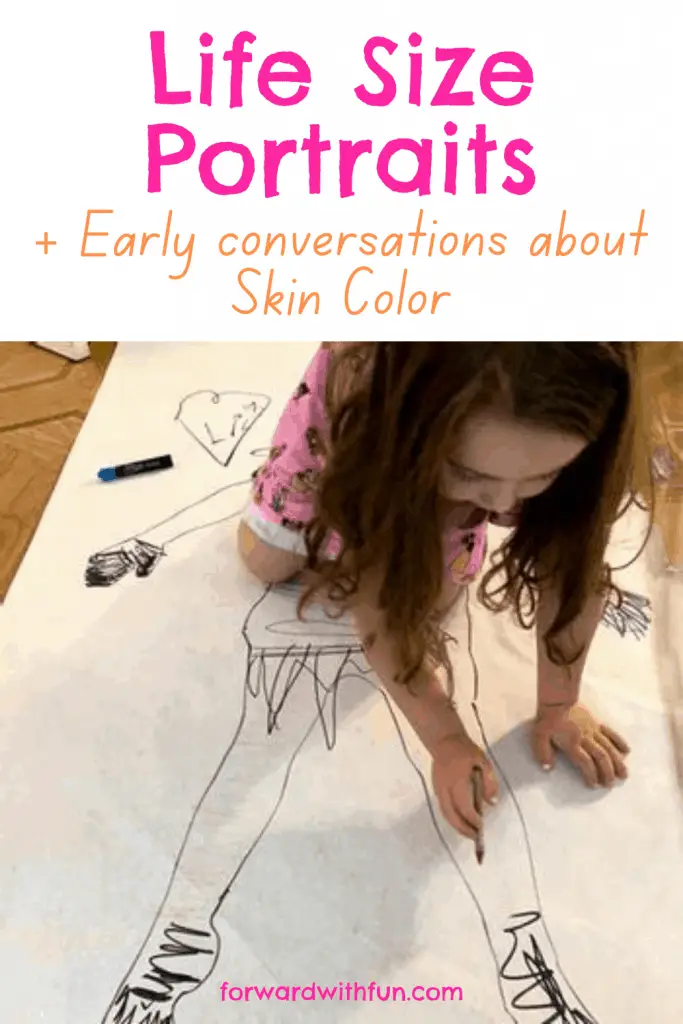
We used People Colors from Lakeshore Learning to find the matching skin tone for each kiddo as we drew. Snag your own "People Colors" set from Lakeshore here. (I'm not their affiliate but I LOVE these)
Update in 2021: Crayola now makes people colors and they're called Multicultural Crayons!

Using multicultural crayons is a very natural way to discuss diversity, particularly skin color, with young children. When we first got ours, we read out the names of all the colors in the box: coral, sable, chestnut, maize, peach, ebony, mocha, melon.
We talked about how all the colors of skin are beautiful and important, including the ones we chose for ourselves. Positive Self Talk can improve kids confidence, so don't be afraid to compliment you're own looks and what makes you special. (Here is a great positive self talk activity you can print out for free).
We also discussed that the words "black" and "white" are opposites, but that people really come in all shades of the same color, not opposites at all. When we stop feeling like we are opposite, then we can focus on what we have in common.
We all have hearts; all of us feel joy and sadness; we all like to be a part of a community, to feel like we belong.
Children do notice differences between people, so rather than "shush" them or pretend they don't exist, when a child notices something different about another, we can acknowledge that difference and validate that being different is what makes us special and interesting.
When we bring up the subject of race with kids from an early age, we can teach respect, love, and unity before they reach an age where they feel uncomfortable discussing race or worse, when society has taught them negative stereotypes and biases that will need to be unlearned.
We are all human, and we are all beautiful. It's never too early to teach our children to appreciate the beauty of every color and the people behind the colors as well.
Social emotional learning refers to learning about ourselves and how we fit in with others. By discussing positivity in differences, we are allowing children to ask questions and face biases that they may have already learned.
The Collaborative for Academic, Social, and Emotional Learning (CASEL) lists 5 core competencies:
1. Self-Awareness
2. Social Awareness
3. Responsible Decision-Making
4. Self-Management
5. Relationship Skills
By first discussing our own self as we create life sized portraits, we build children's self-awareness. By discussing the differences between portraits and also the differences among all people we are helping build children's social awareness and relationship skills.
I searched for the perfect DIY Dinosaur Eggs Recipe for ages before I decided to make my own!
I don't know about you, but my little preschoolers are dinosaur lovers. Everything needs to be dinosaur themed: dino eggs, dinosaur chicken nuggets, dinosaur fossils, and Jurassic park theme songs rule my life.
I knew I hit a winner with this really DOABLE dinosaur egg recipe...Dinosaur eggs filled with mini dinosaurs? What more could a kid possibly want? All these activities make for fun, hands on learning experiences with items you likely have around the house.
*As an Amazon affiliate, I may get a small commission for purchases made through links in this post.
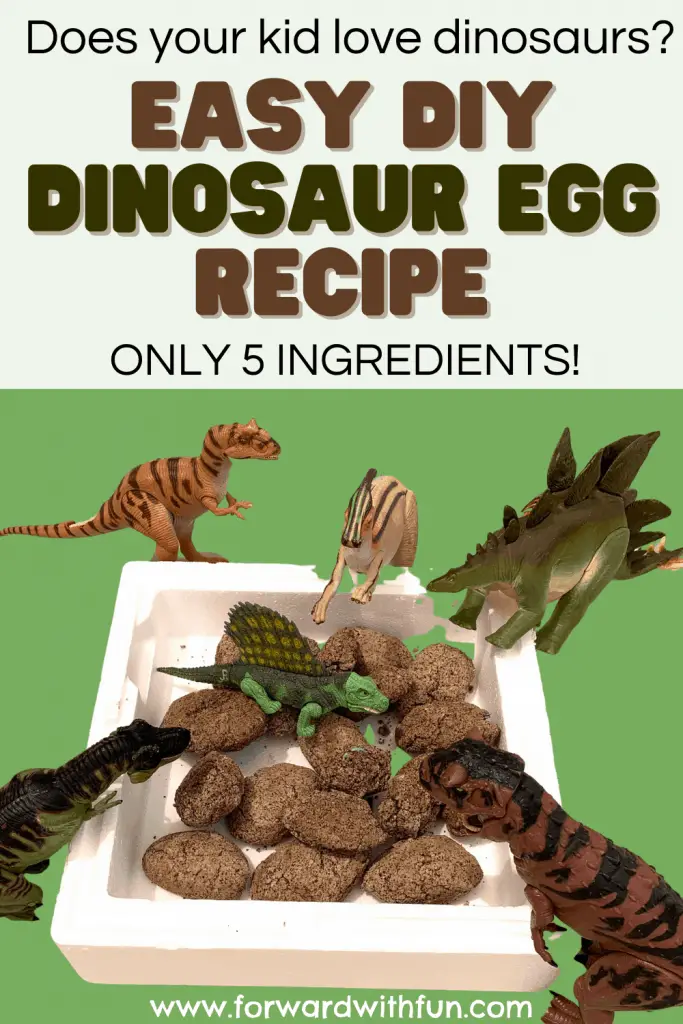
Recipe makes 9-10 dinosaur eggs with treasures inside.
Ingredients

You can really put any similar toy inside. I've put fairies, unicorns, gem stones and any small treasures I can find as long as they're safely tucked inside when baking. Always use adult supervision when using the oven!
Once I'd gotten the DIY dinosaur eggs just right, I made a little nest of twigs and branches in the yard and surrounded the nest with the parent dinosaurs.
Calling the kids to come outside, I urged them, "These dinosaurs need your help. Their eggs are about to hatch, but someone has stolen them and now they're all lost. Can you find all the dinosaurs, bring them back to their parents' nest, and help the eggs hatch to reveal what is inside?"
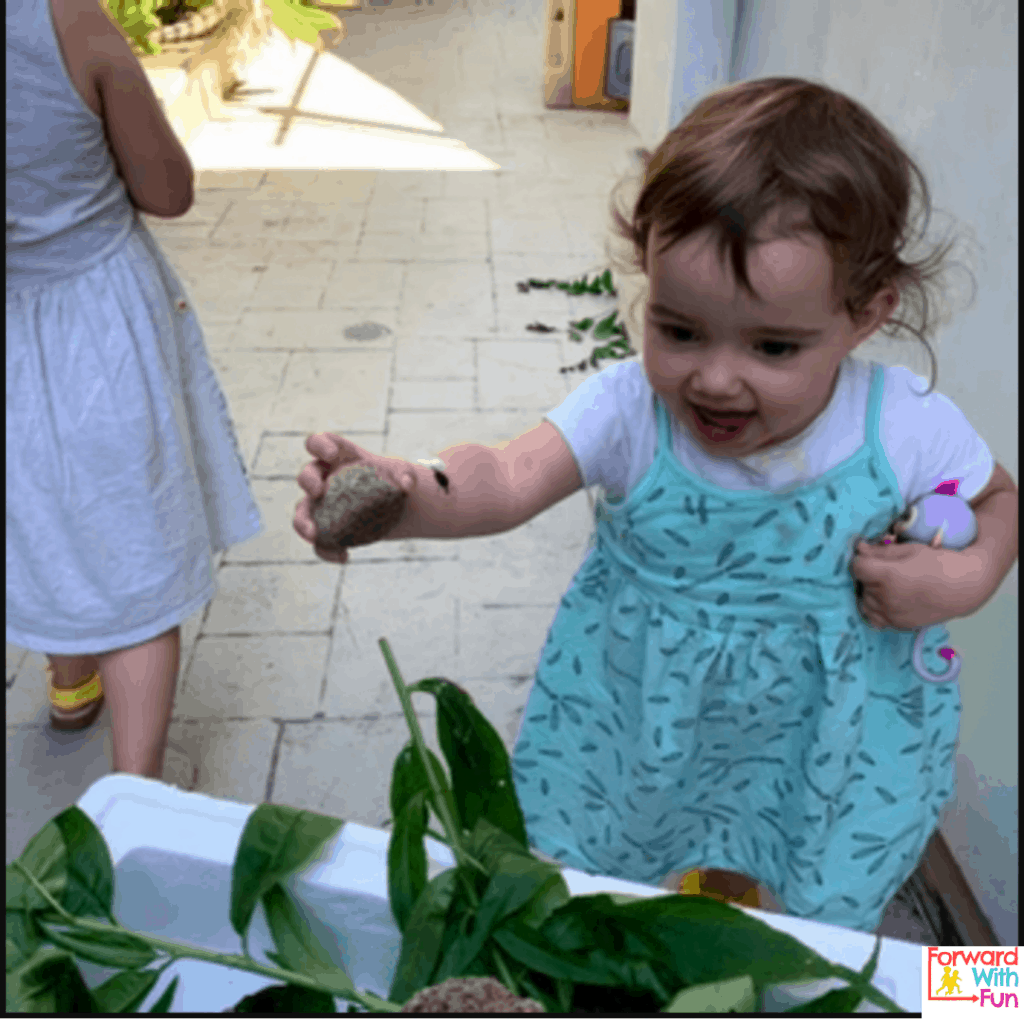
To break the eggs you can use anything: mallets, hammers, or even throw them on the ground. Remember to practice safe tool use (we used plastic tools) under parent supervision.
If your child is younger and having a harder time cracking the eggs, dunk them into a little bowl of water. As a result, they'll be a bit softer and easier to break.
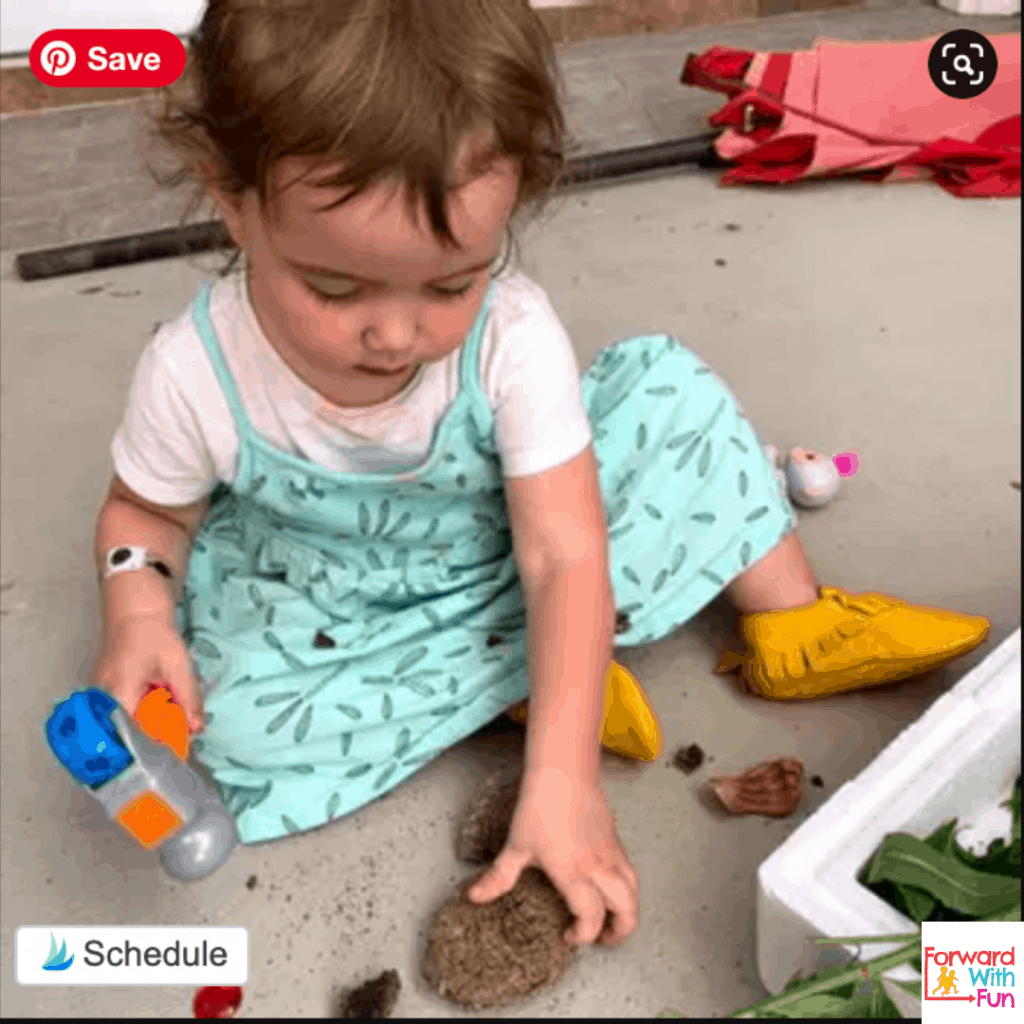
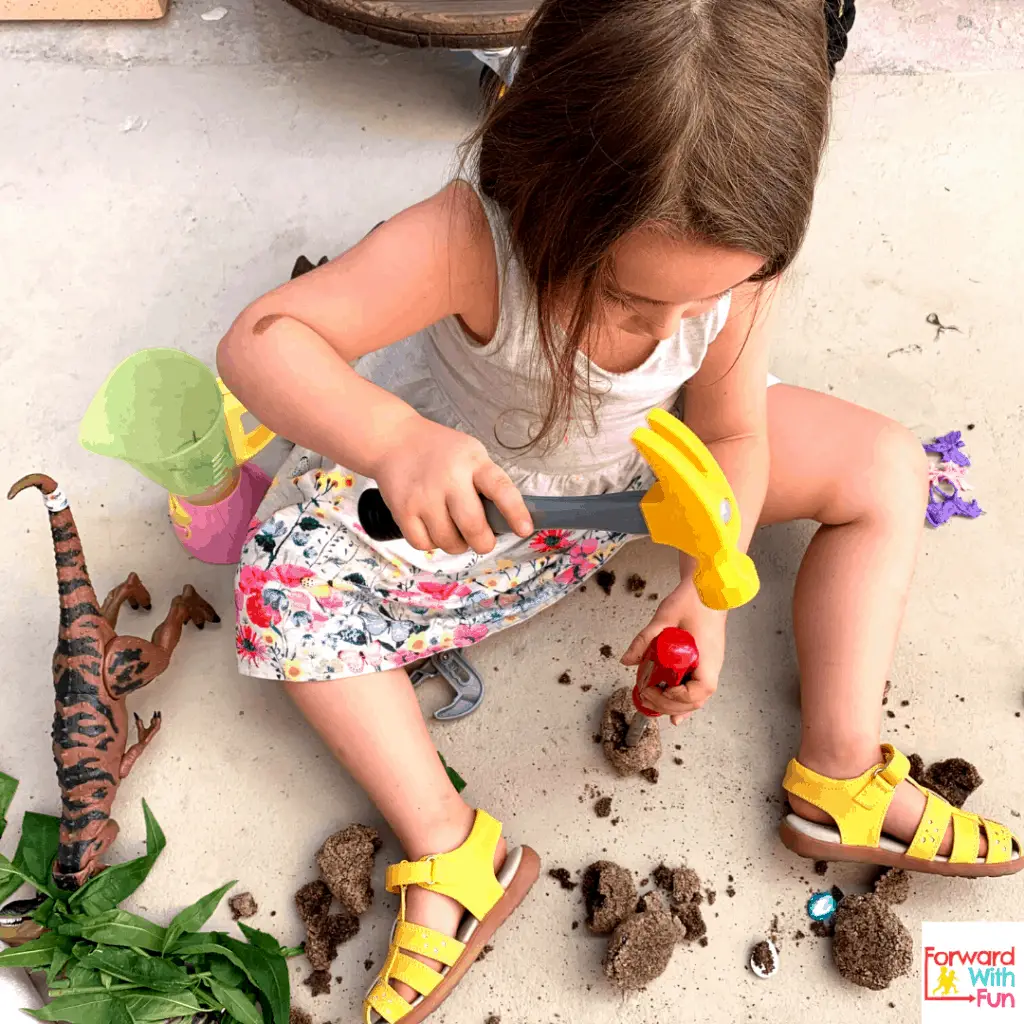
There is something so satisfying about watching these baby dinosaurs emerge from the eggs! Truly, I can't stop watching.
Are you ready to try my DIY dinosaur egg recipe? You will not regret it! Looking for more sensory experiences for your little learners, check out these activities.