It's a no brainer to use this adorable WANTED poster for your kindergarten winter writing project.
Gingerbread decorating is a common winter theme, along with the exploration of Gingerbread related stories, so let's keep with the theme and create our own WANTED poster.
*As an Amazon affiliate, I may get a small commission for purchases made through links in this post.
The Runaway Gingerbread man is a famous story, but did you know there are many stories that have runaway gingerbread characters?
My kindergartners and I love the following stories to compare and contrast the following gingerbread stories (all perfect to inspire winter writing!):


Before writing, students will need to create their very own gingerbread people to decorate. You can use the template from the second page of the Kindergarten Winter Writing PDF to trace the gingerbread shape onto a piece of construction paper. If you have brown printer paper, you can also print it on that.
Items you'll need to decorate gingerbread people:
Kids added the following to their gingerbread:
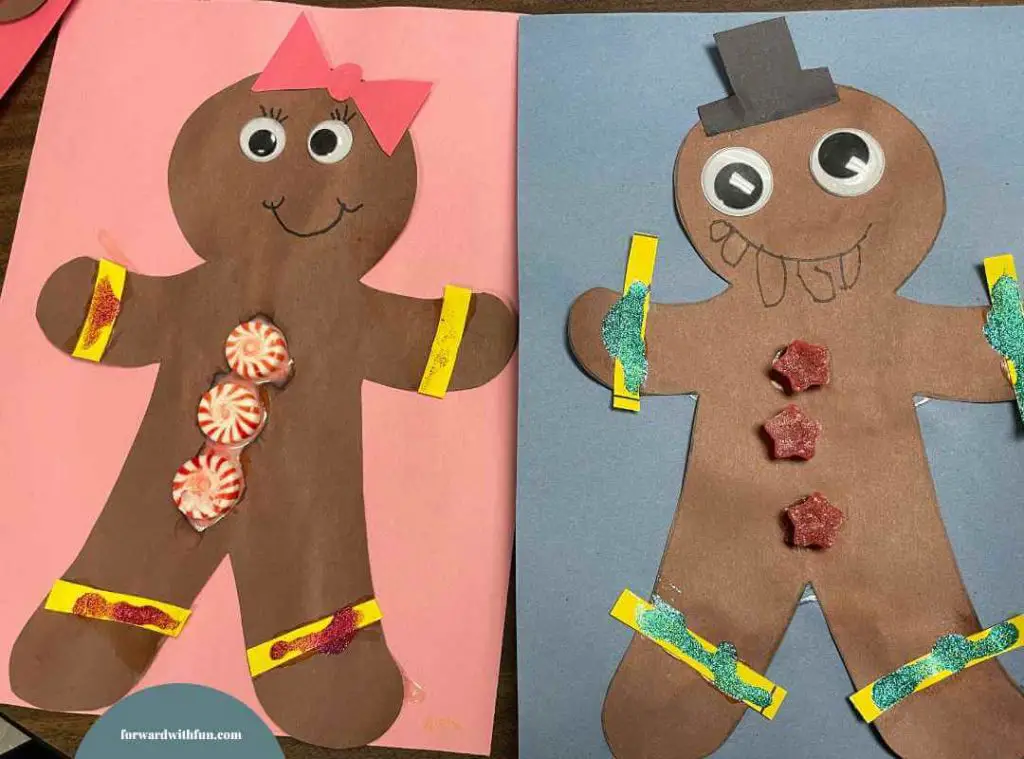
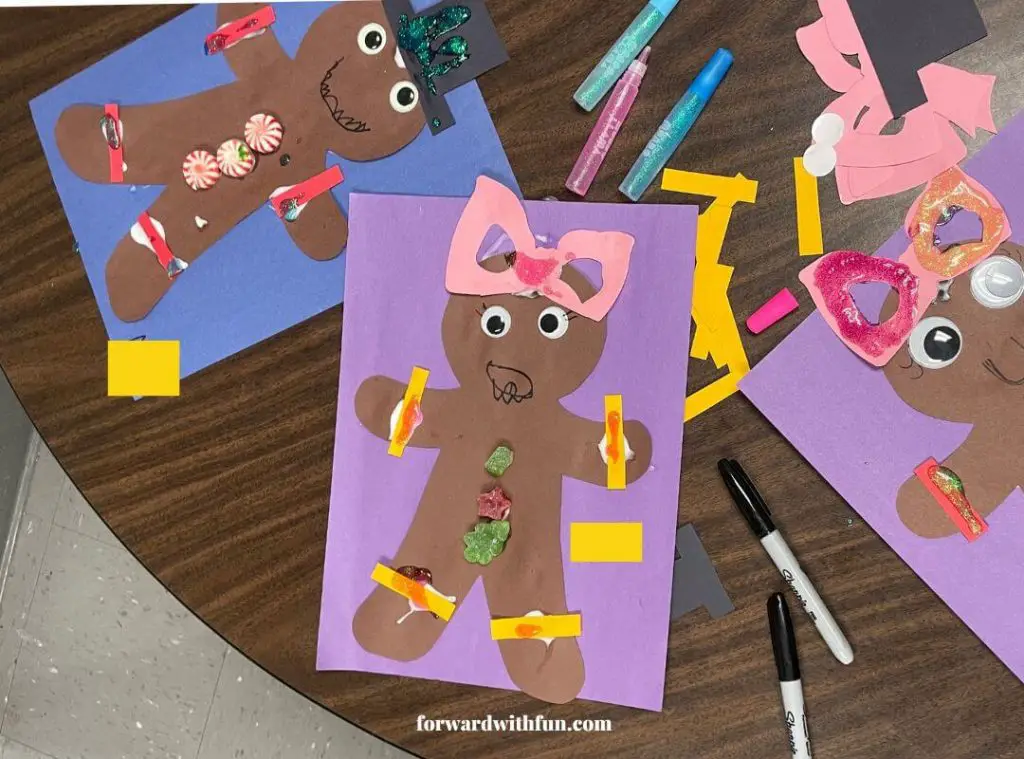
Once our gingerbread people were dry, we chose our favorite color as a background for them. Then we discussed the most important parts of the gingerbread person. (This is a great opportunity to build vocabulary especially if teaching students who are still learning English.)
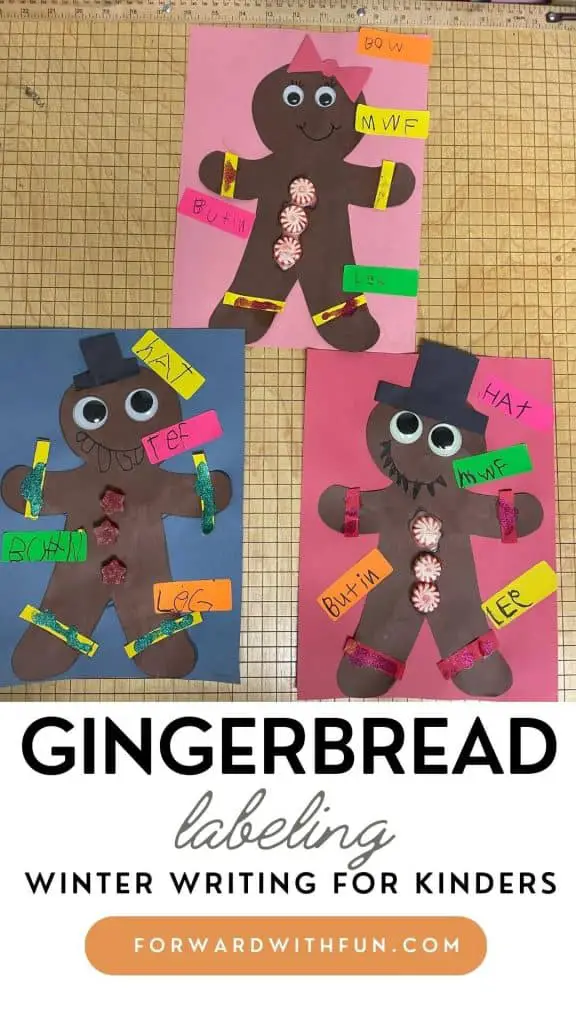
A great kindergarten writing prompt is labeling. (It also lends itself nicely to learning about diagrams, an important text feature in kindergarten.)
Labeling is very accessible to kindergartners because usually it requires the writing of only one word at a time, and children can usually name parts of different pictures on their own.
I use these labeling stickers from Target because they're super cheap ($1.99), and who doesn't love stickers?
I got the idea of doing a gingerbread wanted poster after reading these stories with my class in 2013. When making connections from the story to our own lives, a student retold the story of their dog running away and how their family made signs describing the dog to put up around the town.
This project was a spin on that idea. And it really makes a great "on the wall" kind of display to put up in the classroom or home.
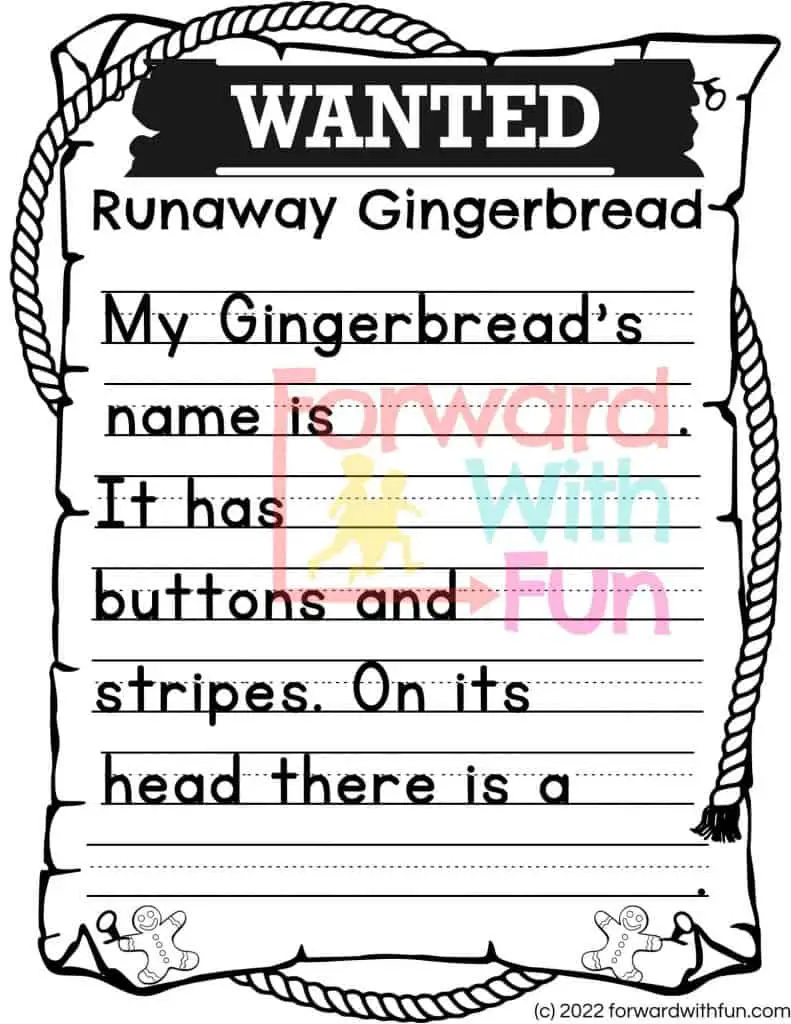
Parents, if you're reading this, you might notice that when students are writing in my class, their words are not spelled correctly. They're spelled as they sound -phonetically.
The best kind of spelling to use at this age is phonetic spelling, and if you're curious about why I don't have kids spell things the "grown up way," I would highly suggest reading this post.
Before You Download:
I do share lots of free activities because teaching is hard enough as it is. In return please consider following me on Pinterest or Instagram to see more cute activities for you to use with your kiddos.
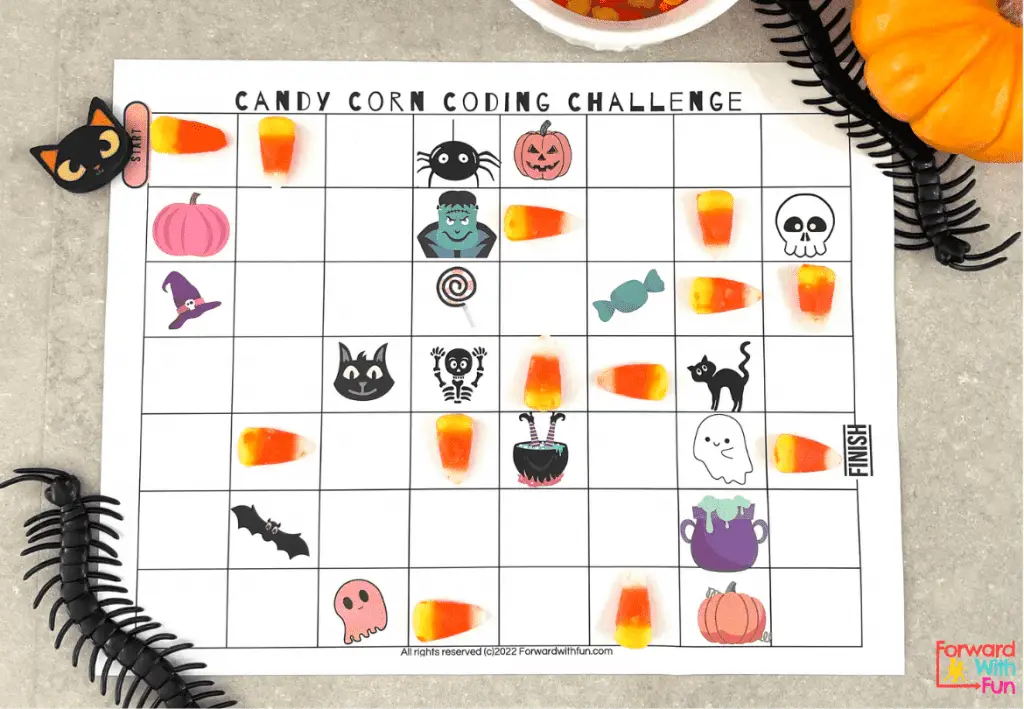
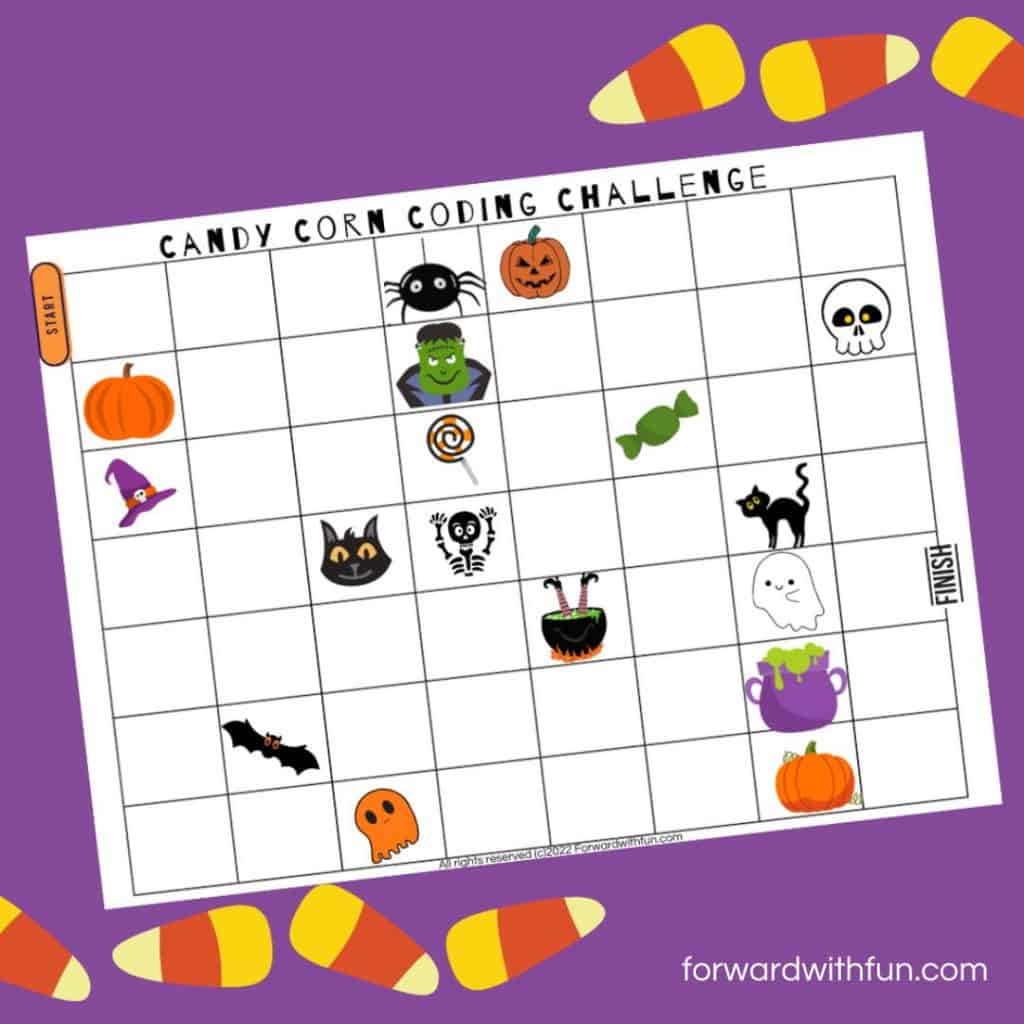
Teach coding in kindergarten with this free to print candy corn stem challenge. It’s so simple, you can do this with your whole class- all you need is a bag of candy corn! Let’s go.
Before you print, you’ll need to understand how to teach coding in kindergarten and why on earth we’re going to use candy corn to do it. So read on.
Can a 5 year old learn coding? Of course they can! Most of the coding we teach in kindergarten is called directional coding as opposed to block coding.
Directional coding is coding that is giving directions very simply, usually through a series of arrows. This can be done on the computer or in an unplugged coding activity, such as this one.
In this hands-on candy corn STEM challenge, kids will be using the candy corn as arrows as they practice directional coding to get from start to finish. Then they’ll test out their code, to see if it works!
Coding may not be part of the learning standards now, but I know it will be! The world is shifting to be more and more technologically centered, and many future jobs or even hobbies may rely on the ability to code.
When we start coding in kindergarten, we build these future skills that children will need. It's like learning a language; the earlier you begin, the more fluent you will be.
Unplugged coding activities are done without a computer, so many kids can participate at once, building skills they'll need on computers.
The most typical mistake I see when I am teaching directional coding to kindergartners is the addition of redundant codes. When you are coding, if your arrow points down, you will not need another arrow until you want to change directions.
You should never have two arrows in a row that are pointing the same way.

Directional coding is about using basic arrows to direct your token item where to go. Only use an arrow when you are changing directions.
The only directions for our candy corn to point are:
Remember: there is no diagonal pointing here!
Objective:
Code a path from start to finish, using candy corn. Test out the candy corn code by following it with a token of choice.
Directions:
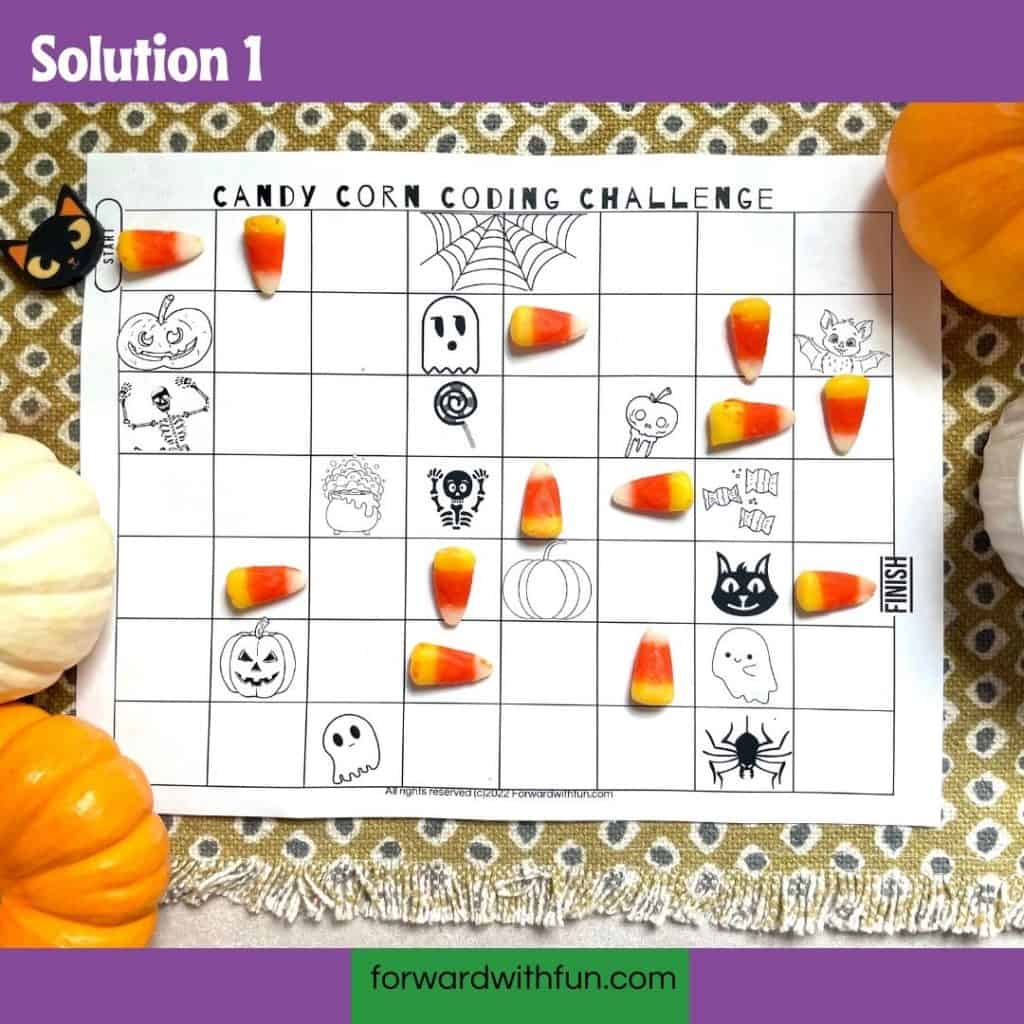
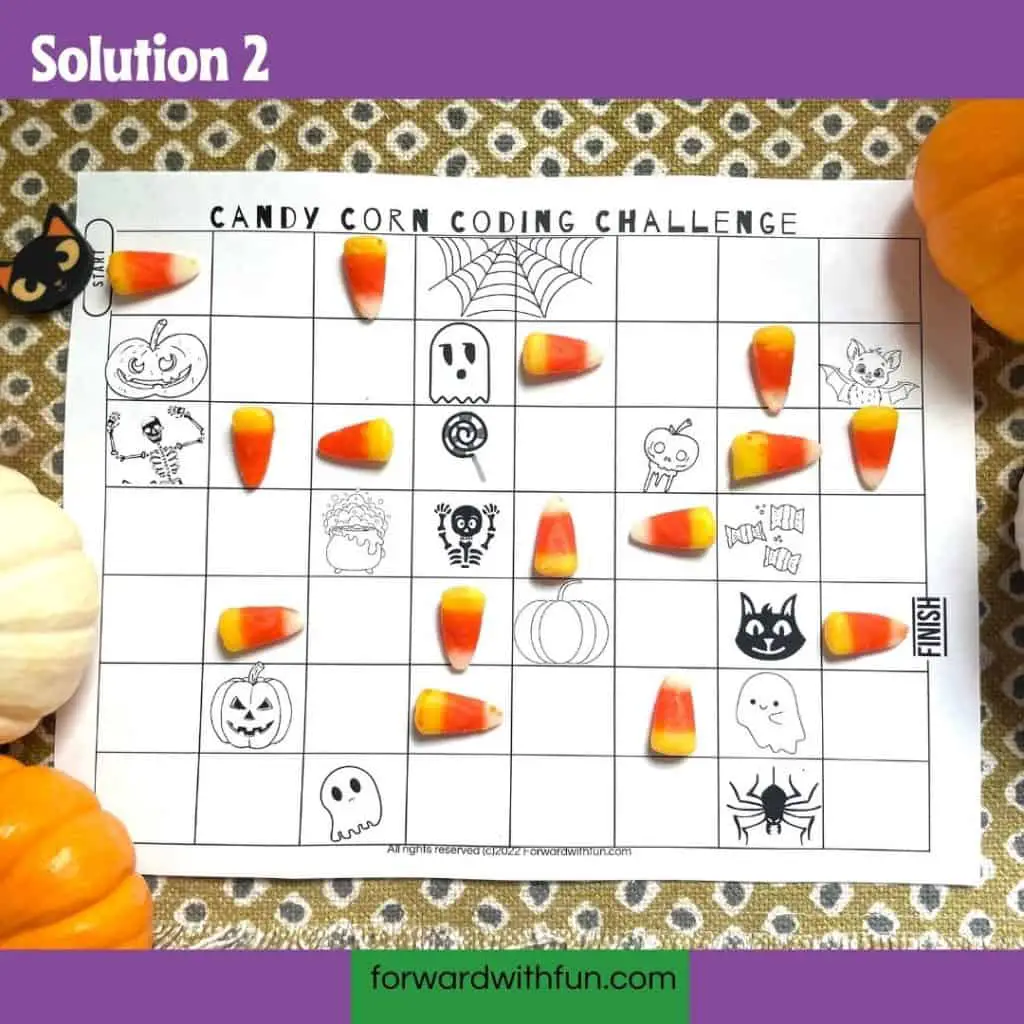
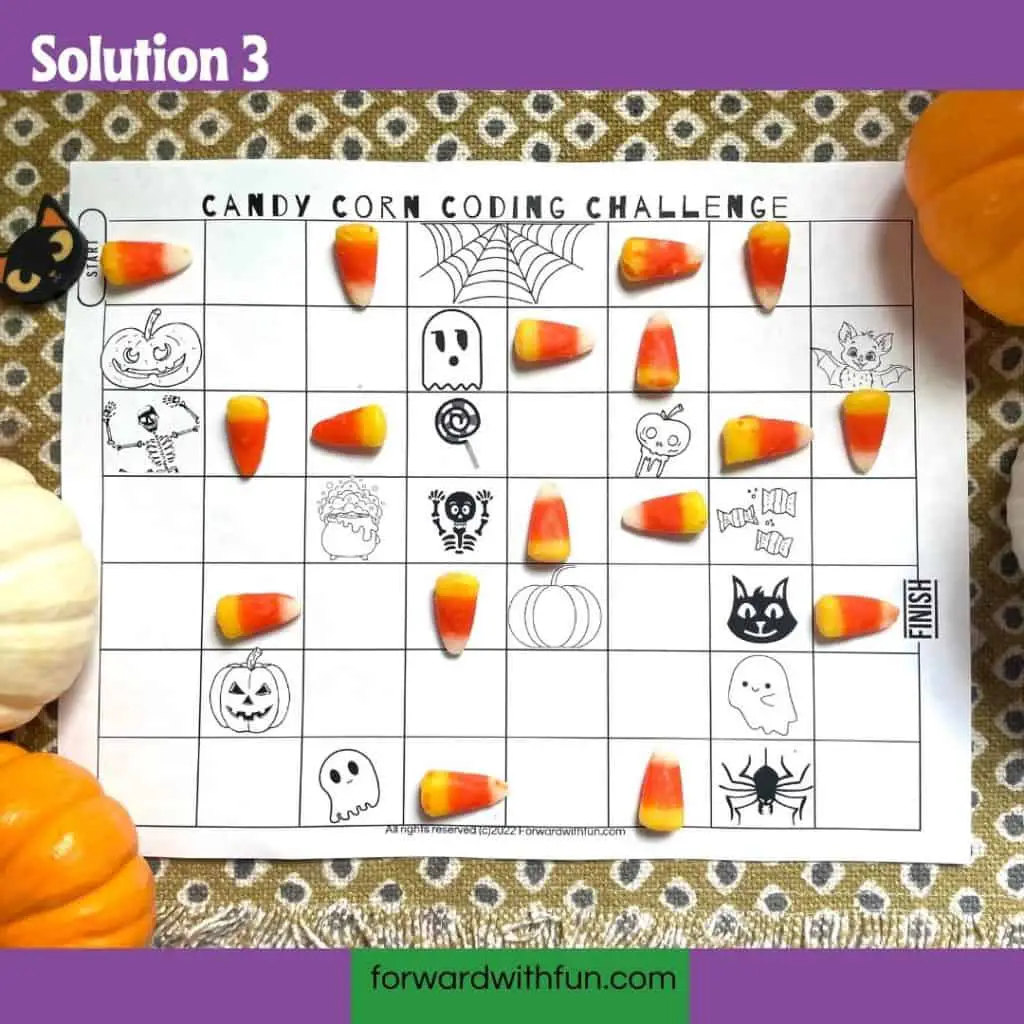
Answer key/code:
There is more than one way to complete the coding challenge. Here are the photos of the possible correct answers. Remember to pin or bookmark this page so you can check the answers against your kiddos' or simply follow their path.
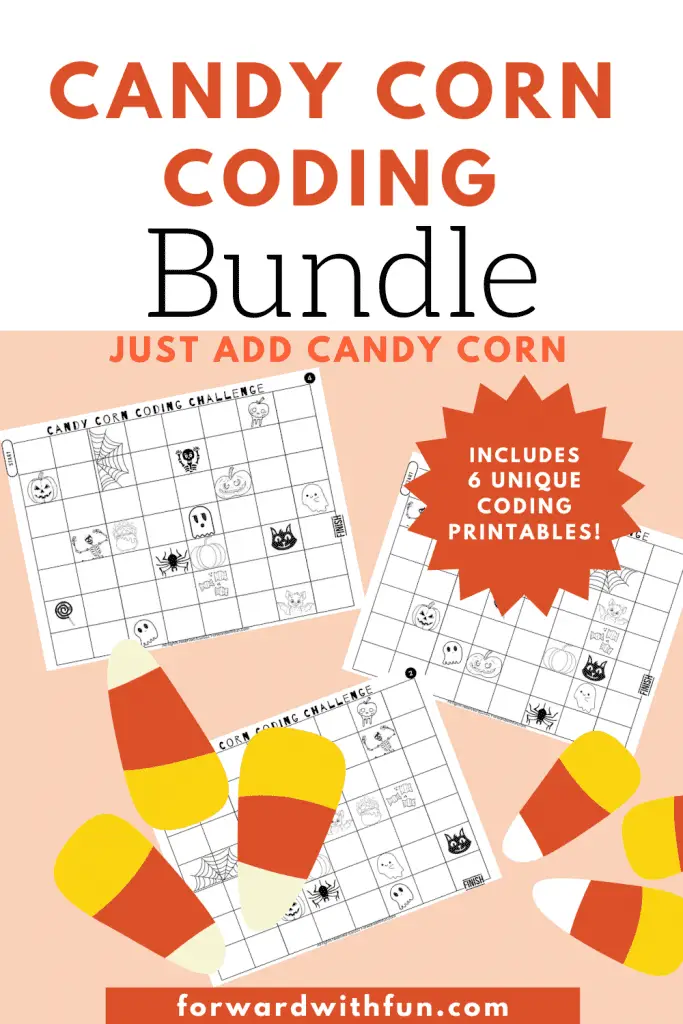
If you feel especially passionate about kids coding, or even just want to make an independent center out of this activity, I've made a bundle of 6 black and white coding printables for you.
Each printable has 2 or more solutions so you'll have 12 additional directional coding activities to do with your kindergartners, along with your freebie.
Grab the bundle of 6 kindergarten printable coding worksheets for only $1.50. If you're looking for just the FREEBIE, just keep scrolling! : )
Check out our post of simply delightful Halloween activities for your leftover candy corn. Please follow and tag @forwardwithfun on social media if you share this activity!
I think I traumatized one of my kindergarteners with my lesson plan on how to make a leprechaun trap.
Even 10 years later, his mother and I recount how she had to convince him leprechauns were not real, but he swore that they came to school and messed up our classroom. I'm so sorry, Dude! Just trying to do some engaging hands-on learning with the kiddos.
So be warned, that it might be a good idea to tell your child that maybe after all, it was you who tripped the trap after all.
*As an Amazon Affiliate I may make a small commission based on any items you purchase from links in this post, at no additional cost to you.
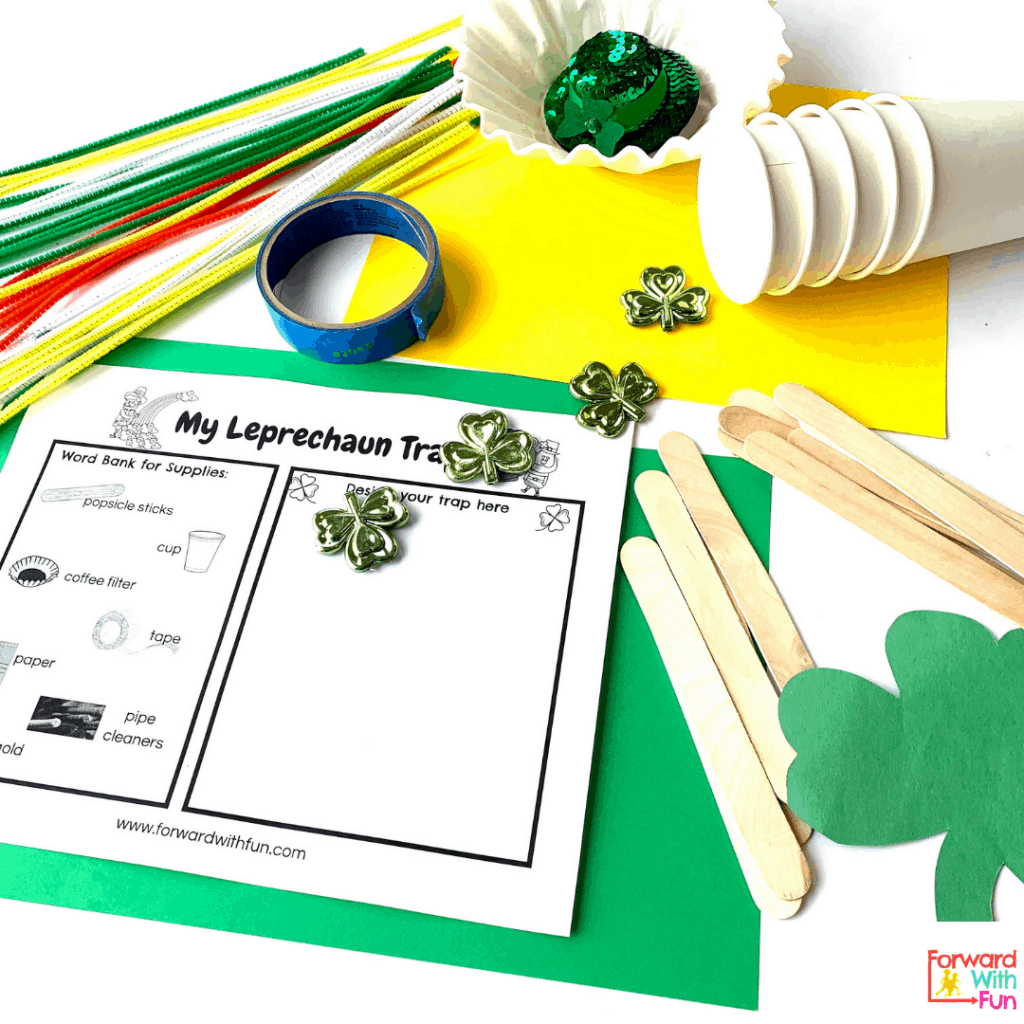
Before making the trap, you'll going to want to have a plan. What materials will you want to use? What object might lure a leprechaun into your trap?
This project involves so much learning from science to STEM to writing. In the first steps, kids will plan and prepare to build their leprechaun trap using my FREE How I'll Make My Leprechaun Trap printable.
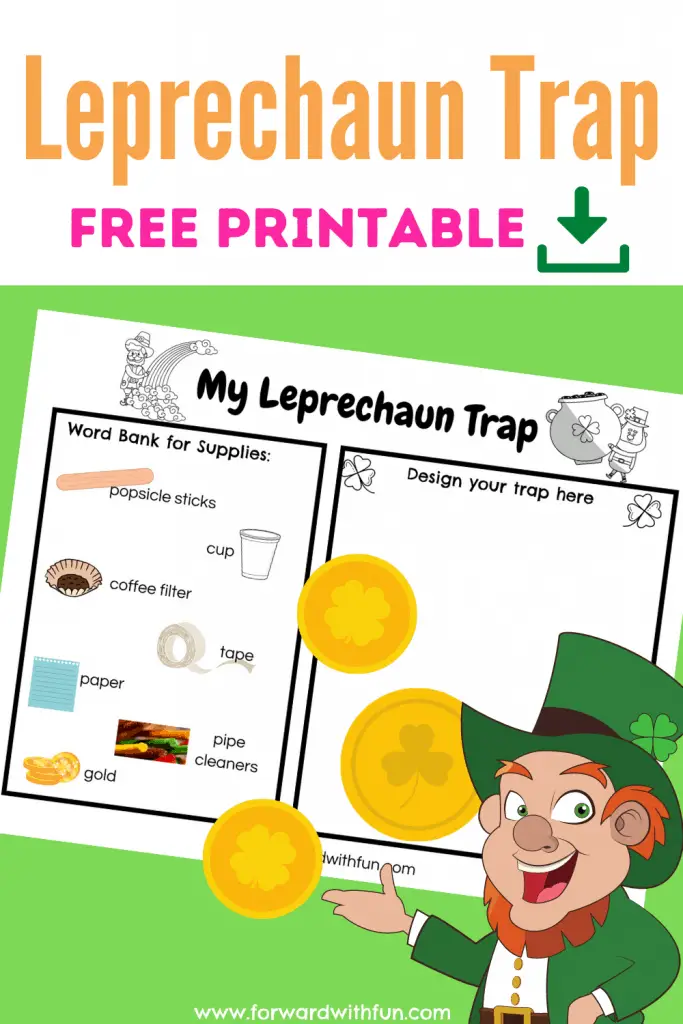
Download the printable and you're ready to make an easy leprechaun trap in minutes. If you don't have all the supplies listed on the left hand side, tell your child/students what you do have. You might want to show them the materials but not let them use them just yet.
Using the printable, have them draw a plan of what their trap will look like. What will they use to lure the leprechaun into the trap? Hopefully, something shiny!
For older kids who can already write, have them label their leprechaun trap plans so that the reader will know what materials they plan to use for which parts.
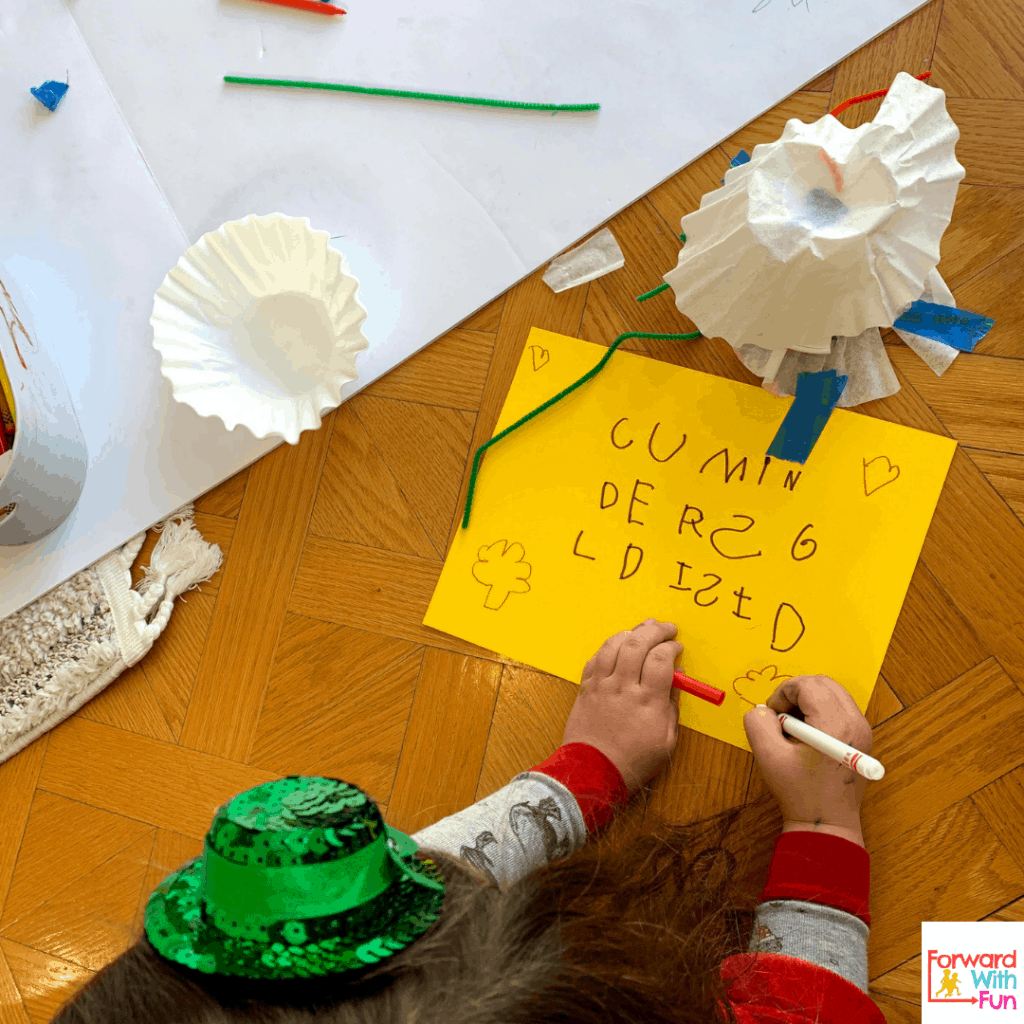
Ask your child/students, how will the leprechaun know to come to the trap. Will there be any signage to entice them to come inside?
Now let's build it!
While watching the kids build their leprechaun traps you might feel inclined to jump in and say, "Oh what about this? It would be cool if we..." but I encourage you to stop yourself and let this experiment be completely child led.
In the planning stages, we have provided the questions to provoke problem solving and the materials to inspire. This is the kids' part to be the engineers! Giving our children full creative freedom is hard, but it means that what they create is 100% their own.
Whenever I feel the urge to place value on my children's creation or make suggestions, I try to use the technique called "Say what you see." I just narrate what is happening. So instead of saying, "I love that little door you made," I might say, "You made a door out of paper." Sometimes I just try to step away and see what they'll come up with completely on their own!
These easy to make leprechaun traps will surely bring some excitement to your home or classroom. So now what do you do with them on St. Patrick's day?
The day before St. Patrick's day, I have the kids lay their traps wherever they think the leprechauns will be searching for gold and shiny goods. I make sure that they have their lure inside the trap.
Once I'm alone, I go and snag the gold coins/lures out of each trap.
This is the kicker, the piece de resistance, that probably really made my little student frightened: the footprints. Are you unsure of how to make little leprechaun footprints around your trap?
Easy! Get some green paint. Make a fist and paint the bottom side of your fist before gently stamping it across the surface of your choosing. Then dip your pointing finger in the green paint and create little toes over the foot print. Tada, adorable leprechaun footprints, and they couldn't have been made by an adults large feet!
So yeah, it's a good prank, but if your child or students are iffy on the subject, show them how you did it!!!
The kids will flip when they see the leprechauns have sprung their traps without being caught. This is usually when I leave a little note from the leprechauns saying something like, "You almost got me!" or "Try again next year!" If you're looking for some more St. Patricks Day STEM activities, especially for the classroom, check out The Stem Laboratory!

When trick or treating was cancelled due to Covid-19 in Los Angeles, I knew I needed to create an October full of Halloween activities for preschool and kindergarten in my home.
Halloween themed learning activities help me teach my kiddos with fun hands-on ways while also theming it up for my favorite holiday.
*As an Amazon affiliate, I may get a small commission for purchases made through links in this post.
Whether you're looking for math, STEM, reading, or just arts and crafts - We've got you covered!
This easy Halloween activity for preschoolers teaches number identification, and counting with one to one correspondence.
To help your little one really master counting and number identification you want to make sure you check out another one of our favorite activities: Punch Math.
Similar to candy corn counting, this activity may suit kindergarteners better as it incorporates addition.
For more fun beginning addition activities check out these hands-on domino games.
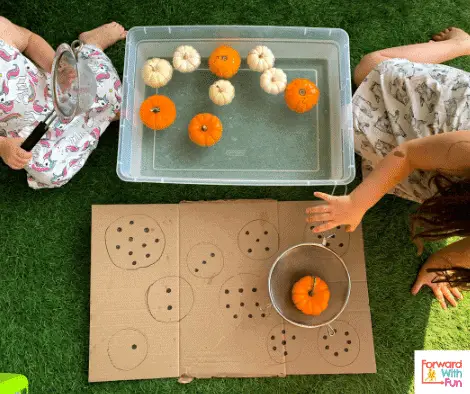
For some water play and counting get out those itsy bitsy pumpkins and write numbers 1-10 on the bottom of them in Sharpie. Fill up a container with water and stick them in so the numbers are hidden.
On a large piece of cardboard make ten circles and then draw 1-10 dots in each one. You can arrange like dice or any other way.
Grab some scooping devices from the kitchen and have your children rescue the pumpkins and return them to the correct number.
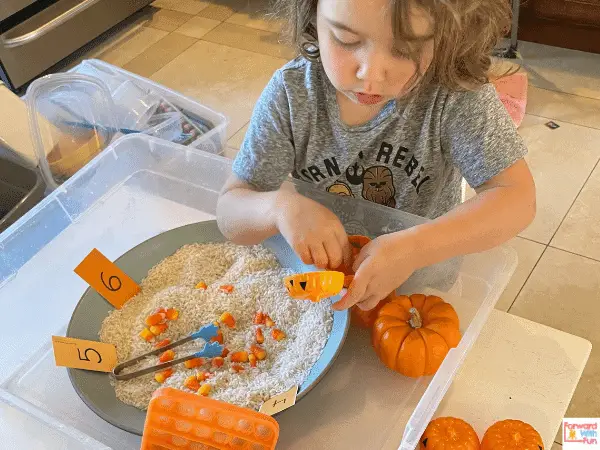
This was so easy and ended up becoming an October staple around here. I didn't even dye the rice I put into this bin (but if you want to do that, it only takes 1 minute and you can find out how here).
I just tossed some rice, candy corn, little Target pumpkin containers, and scoopers in a bowl for this epic play set up. Don't forget to put the tray inside a larger bin to avoid messes!
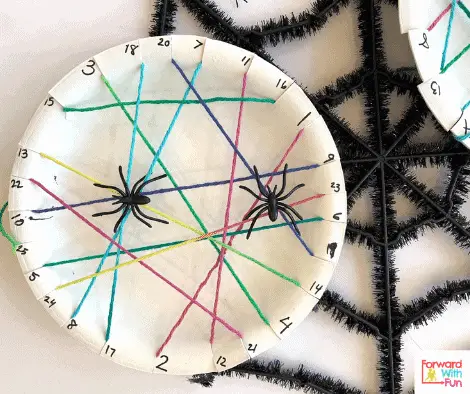
Do you remember dot to dot activities where you'd start at one number and create a picture by following the numbers in order?
This is a Halloween hands on learning version of that classic activity. All you need is a paper plate, marker, yarn, scissors, and a fake plastic spider.
Write numbers all around the plate, making sure they're out of order. The more numbers you have the more spiderweb-like the craft will look. After that, cut a small slit next to each number and insert a long piece of yarn behind the number 1, secured with a small knot.
The rest is super simple, follow the numbers to spin your spiderweb, going under and over, under over. Once you reach the final number, add your creepy crawly arachnid.
Candy corn- It might be gross to some, but it definitely screams Halloween, and I decided it's perfectly shaped to teach coding to Big Sis (4.5 years old).
Using a muffin pan or even a simple hand drawn grid, create a pathway from one end to the other.
The objective: Get the baby pumpkin to its parent.
The skeletons block the road, and the baby pumpkin could get lost, so we need to put out candy corn that point him in the right direction. The candy corn can only go left, right, up or down. The baby pumpkin will follow the direction of each candy corn.
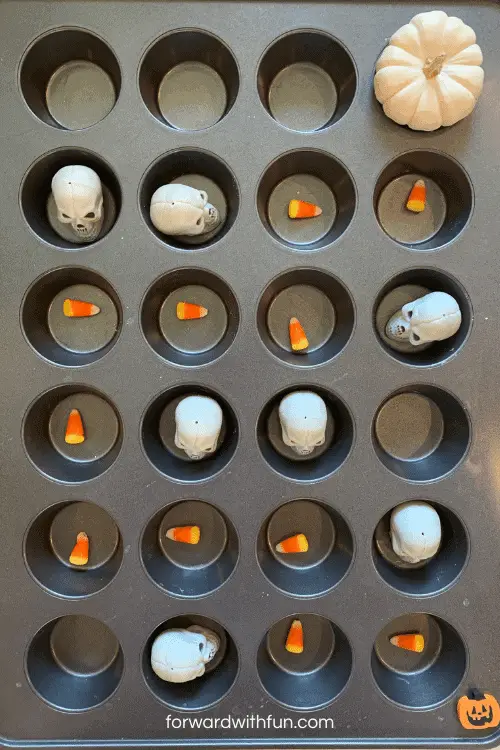
To make this spooky Halloween coding activity a bit more challenging, you could kids remove the redundant codes (any candy corn that goes the same way twice). But since this was our first coding activity, I kept her design the way it was.
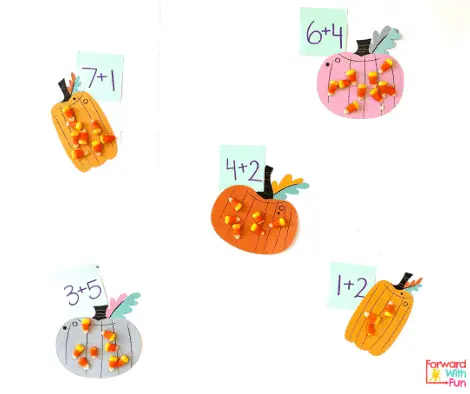
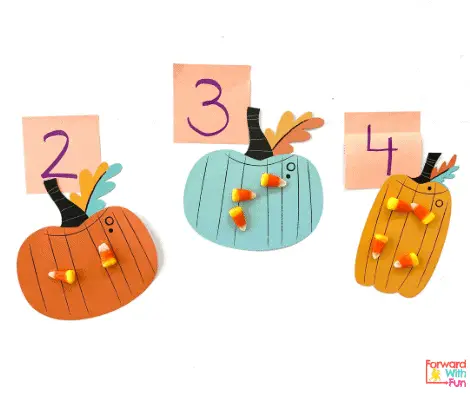
For Lil Sis (age 2+) I set out 3 adorable pumpkin cutouts each with it's own number. Then I gave her a cup of candy corn and asked her to put the right number of candy corn on each pumpkin.

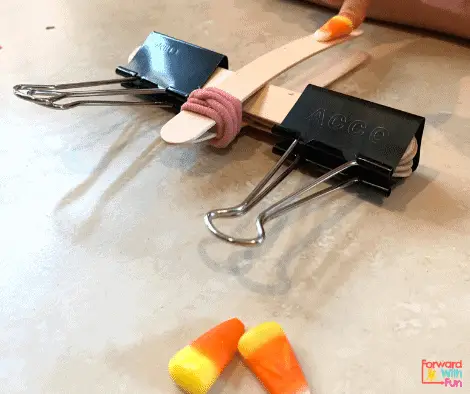
Who doesn't love permission to send stuff flying? Create a stem catapult and launch that candy corn!
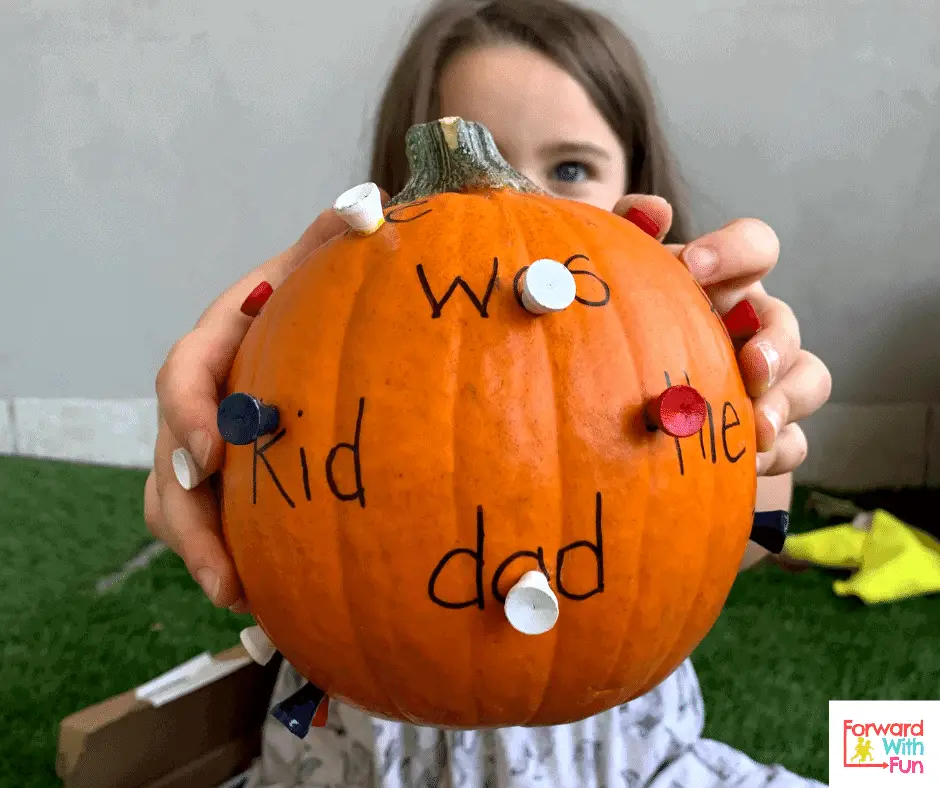
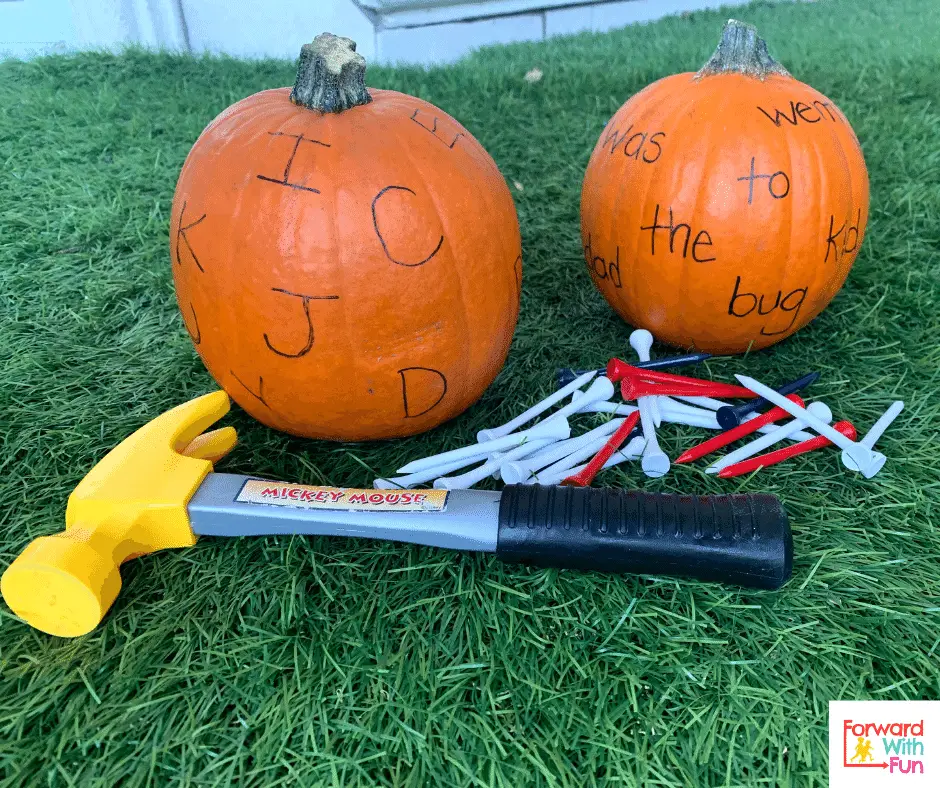
Grab a pumpkin pie or sugar baby pumpkin for this literacy activity. You'll also need a kid-safe hammer, golf tees, and a Sharpie.
For preschoolers: write letters on the pumpkin to practice letter identification
For kindergarteners: write CVC words or sight words on your pumpkin to practice decoding and sight word skills.
For kids already reading, try this FREE SCAVENGER HUNT. Hats off to this teacher mama, Christine, for sharing! I'm thrilled to easily print, cut, and play along with my kiddos this Halloween!
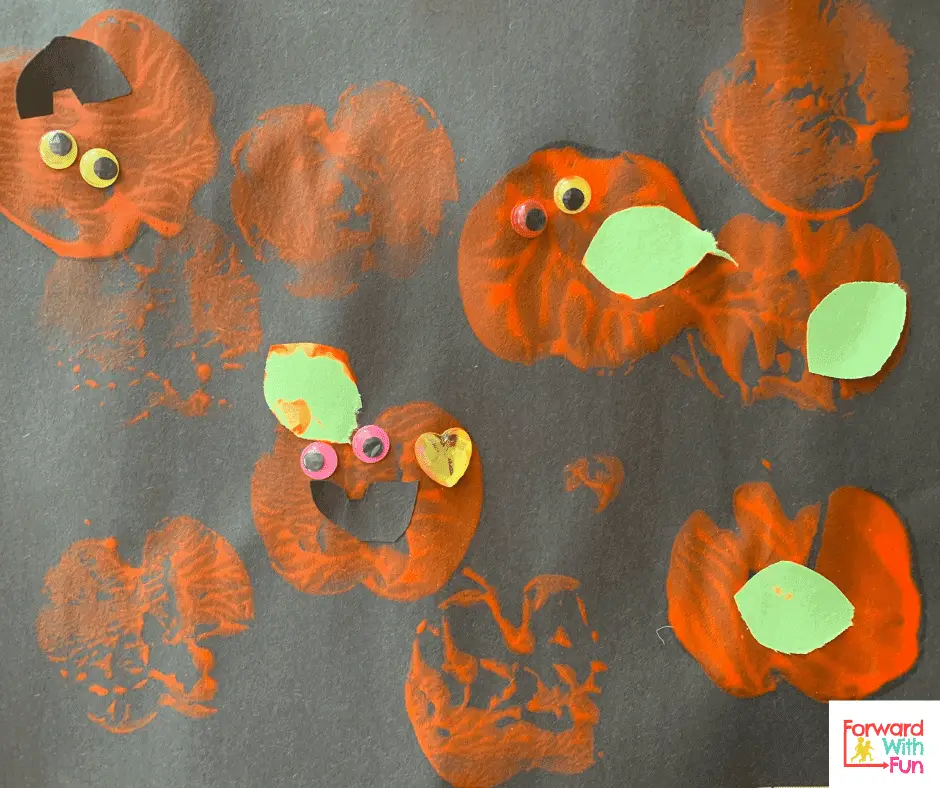
This easy Halloween craft is a classic. It never seems to amaze the little ones that an apple cut in two makes the perfect pumpkin stamp.
Squirt some WASHABLE orange paint onto a plate and you're ready to go.
I love to create a "buffet" of choices for decorating our pumpkins. For example I include googly eyes, green leaves, maybe a little stem cut out, and other shapes.
My one tip for Halloween crafts for preschoolers (or really any craft/art) is to really be as hands-off as possible. If we help them, they begin to think their version wasn't good enough. When kids create on their own, it might end up wonky, we empower them as artists.
Many kids get discouraged when it comes to creating art because their drawings/paintings don't look like what they wanted. However, if we emphasize effort and the process more than product, kids are more likely to enjoy creating art.
For more colorful fun discover my ultimate mom hack for mess free painting!
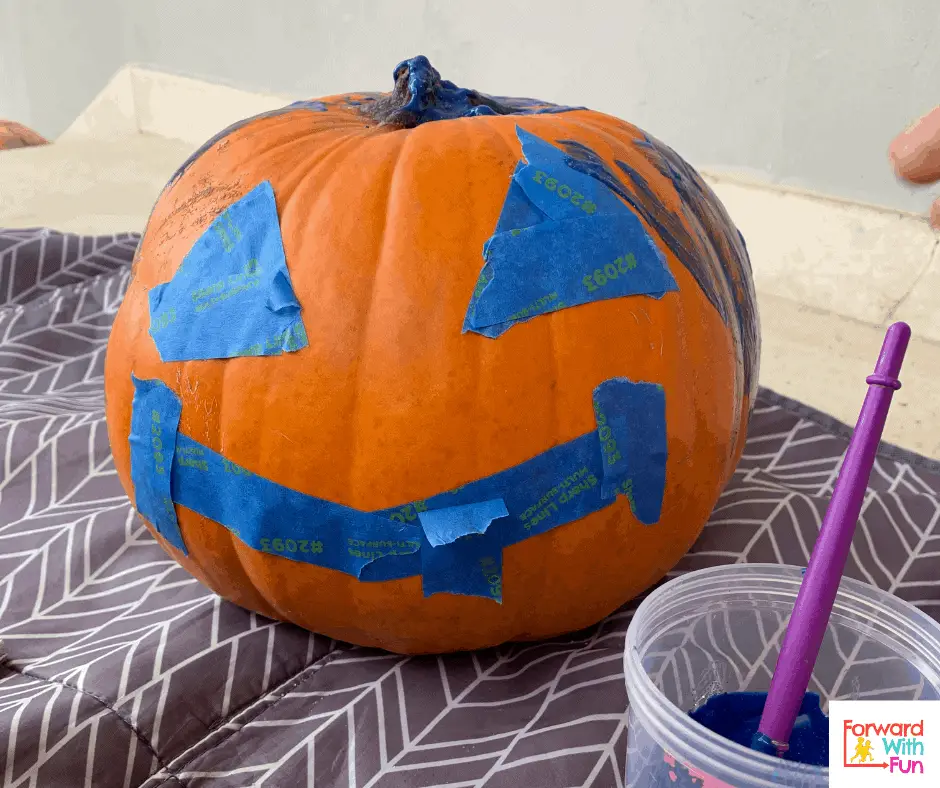
Let's face it, carving is a lot of work, and my kids want in on the fun. This is a SAFE way to get your kid pumpkin "carving."
Use blue painters tape to discuss shapes and your kid's vision for the Jack-o-lantern. Then, tape a face onto their pumpkin (or better yet have them do it).
Next kids get to paint over the tape and all around the pumpkin before waiting for it to dry.
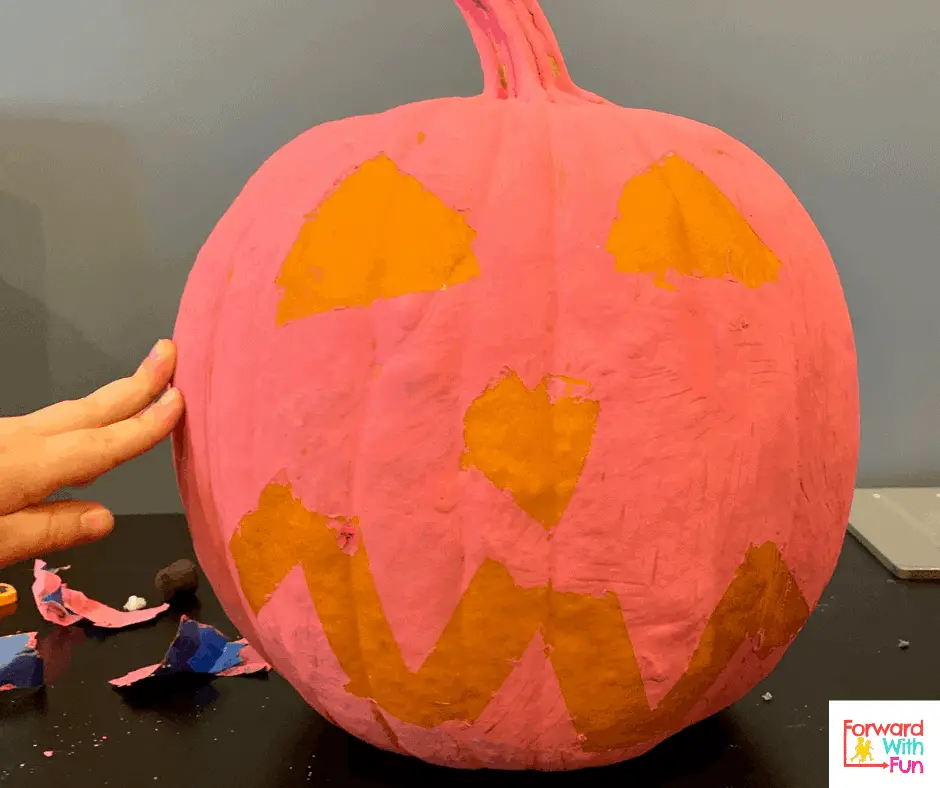
Once it's dry, they can peel off the tape (which happens to be a wonderful fine motor skills activity) to reveal the face they made.
Try not to change or add anything to make it look more like your vision for the pumpkin. By leaving our kids' art as is, we show them that their art doesn't need to "fixed" to be beautiful.
To teach my little ones about Hanukkah, I gathered up the simplest and most fun Hanukkah activities for preschoolers that touch on all the most important themes and items in Hanukkah: the menorah, dreidels, and the Star of David to represent the Macabees.
Growing up, I always felt left out of Christmas and it seemed for my family, Hanukkah was kind of an afterthought. Sometimes we would light the candles; sometimes we didn't. I wanted in on the festivities!
I'm hoping to build my children's excitement for the Festival of Lights while they're still young, so we can build family traditions for years to come. So to pump them up, we will be doing tons of Hanukkah preschool and pre-k activities. Join us!
*As an Amazon affiliate, I may get a small commission for purchases made through links in this post.
Nervous about your child lighting the candles on Hanukkah? With this simple toilet paper roll craft, kids can add and remove lights without any fire.
This was a great matching, fine motor planning activity for my little one, and a math opportunity with my older preschooler. For example, one can explore symmetry with the menorah with the "Shamash" candle being in the middle.
The twist? Before placing in the "lights," stick in a item like a sticker, mini dino, lollipop, or tattoo. Each night have your child reveal a little toy inside a candle as a treat!

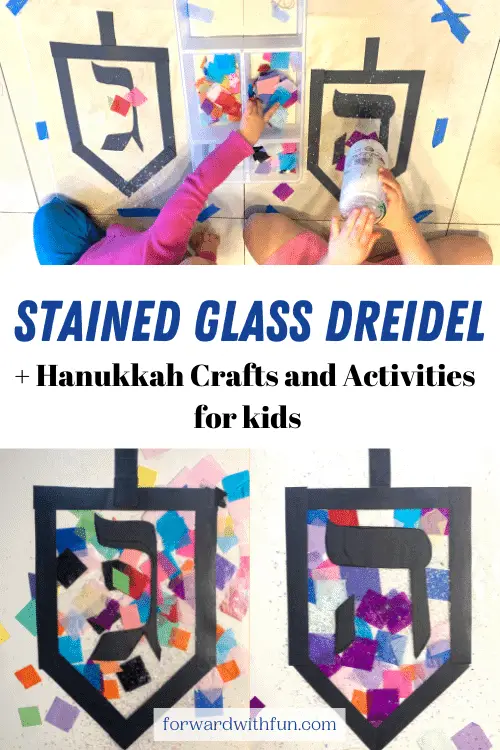
Place contact paper sticky side out on the wall or on the floor. Then, tape it in place with blue painters tape. (Want a tutorial on how to do that? See my video here.)
Then cut and shape a dreidel onto the paper.
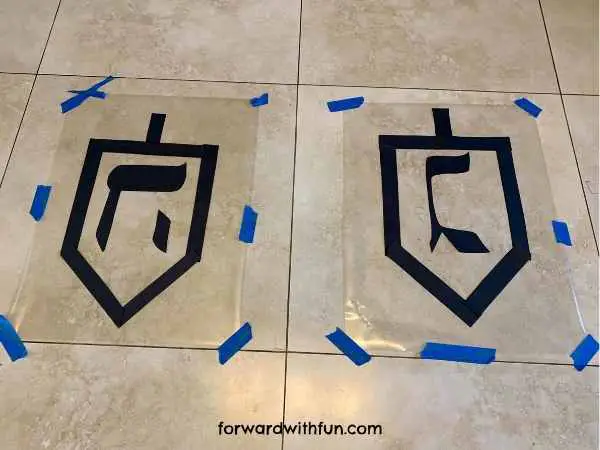
Choose one of the Hebrew letters: נ (nun), ג (gimmel), ה (hey), ש (shin) to put on your dreidel stained glass craft! We read Spin the Dreidel by Alexandra Cooper to refresh on what each letter meant in the game.
Important: If you plan to display your dreidels on a wall, you'll need to make your Hebrew letter reversed for decorating. If you plan to display it on the window, make the letter you choose, in its normal orientation so it can be seen properly on the other side of the window.
The kids chose hei (ה) because it means you get to take half the tokens in the pot and gimmel (ג) because it means you get to take all the tokens in the pot!
Kids can use tissue paper, glitter, or ripped paper scraps to place onto the dreidel shape.
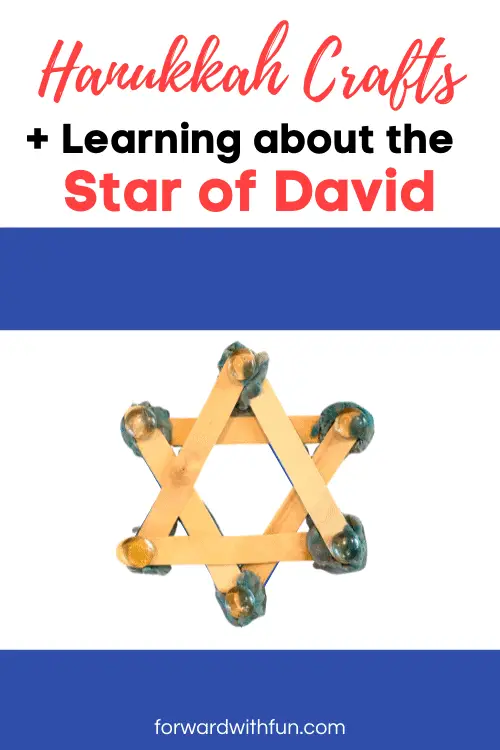
The Star of David is generally recognized as a symbol of Judaism and is most often recognized from the Israeli flag.
Though it is not a Hanukkah symbol, learning about Hanukkah with my preschoolers is also a good time to learn about other culturally relevant symbols.
Using popsicle sticks, playdoh, and other decorative items, we make a Star of David for this hands-on shapes activity.
The kids each made two popsicle triangles and then tried to create the star shape by placing them one on top of another.
After creating our Stars of David we made our own Israeli flags by using white paper, two blue strips, and placing our Star of David right in the middle!
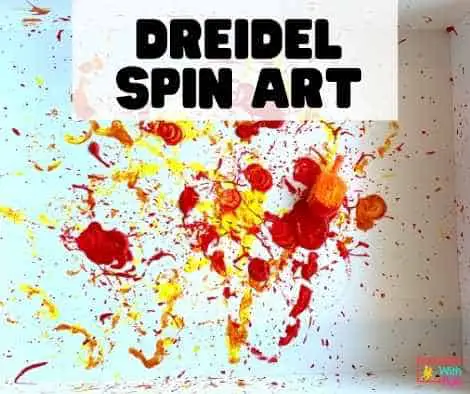
Got a dreidel and some washable paint? My favorite is Crayola washable, because they're actually washable like they say and also affordable!
Make sure to keep the paint in a shoebox so you don't get paint splattered all over the floor.
Spin that dreidel and create magical splatter art with your little one!
To play you'll need Hanukkah gelt, dreidels, and 2 or more players.
The letters on the dreidel stand for a Nes Gadol Haya Sham (A great miracle happened there.) In Israel, instead of using a Shin for Sham (there), the dreidels have a Pey(פ) for Po (here).

With one simple Hanukkah activity, preschoolers learn about taking turns, counting, and even the beginning of dividing as we learn to take "half" when landing on Hey.
Will you be playing dreidel this year?
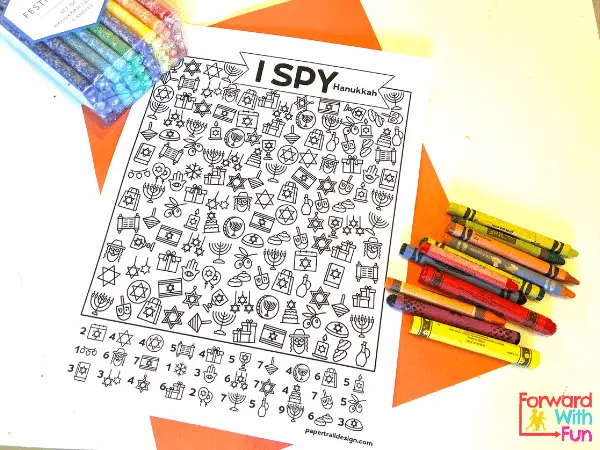
I just found this perfect free printable Hanukkah activity for my preschoolers to do this year! It's quick and simple and can be used in conjunction with talking about all the Hanukkah symbols: dreidel, menorah, Torah, Rabbi, Hamsa, and Israeli Flag. Thanks to Paper Trail Designs!